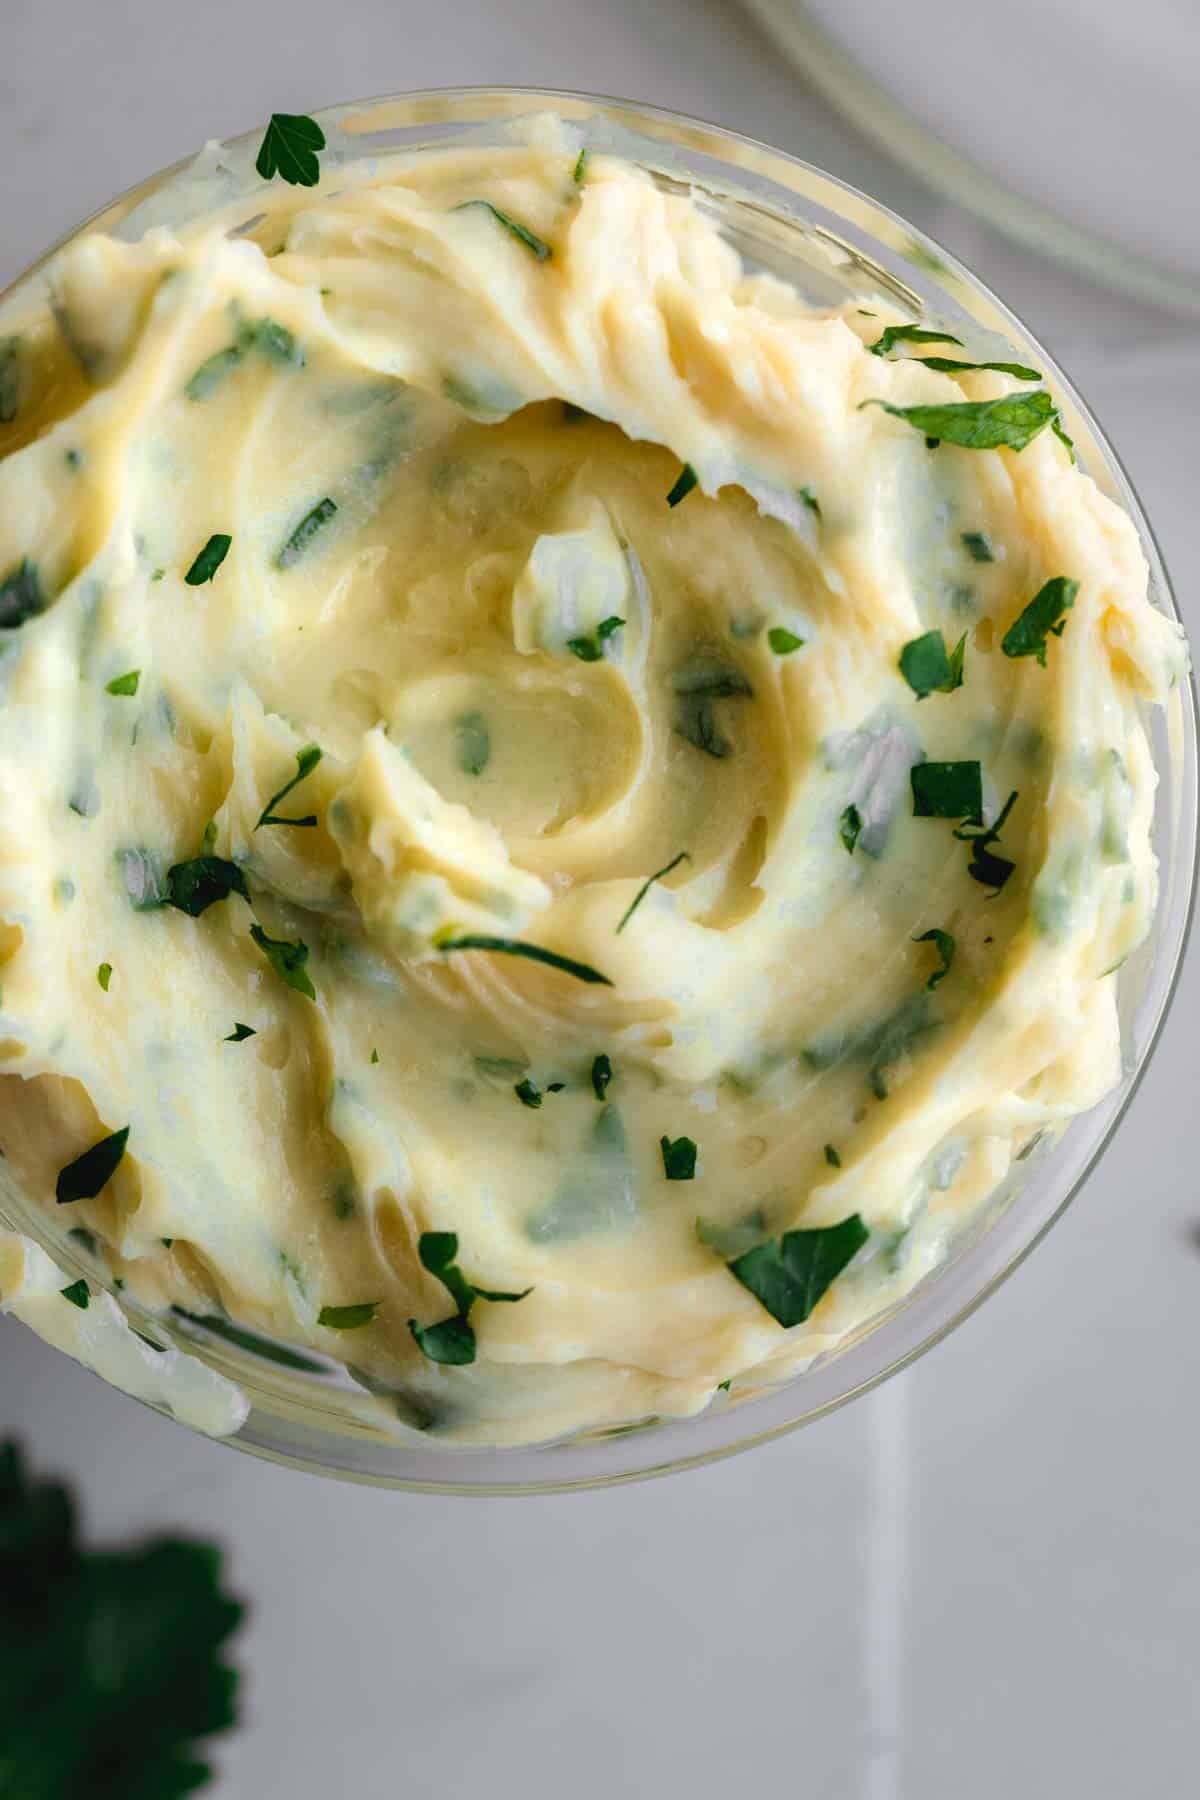
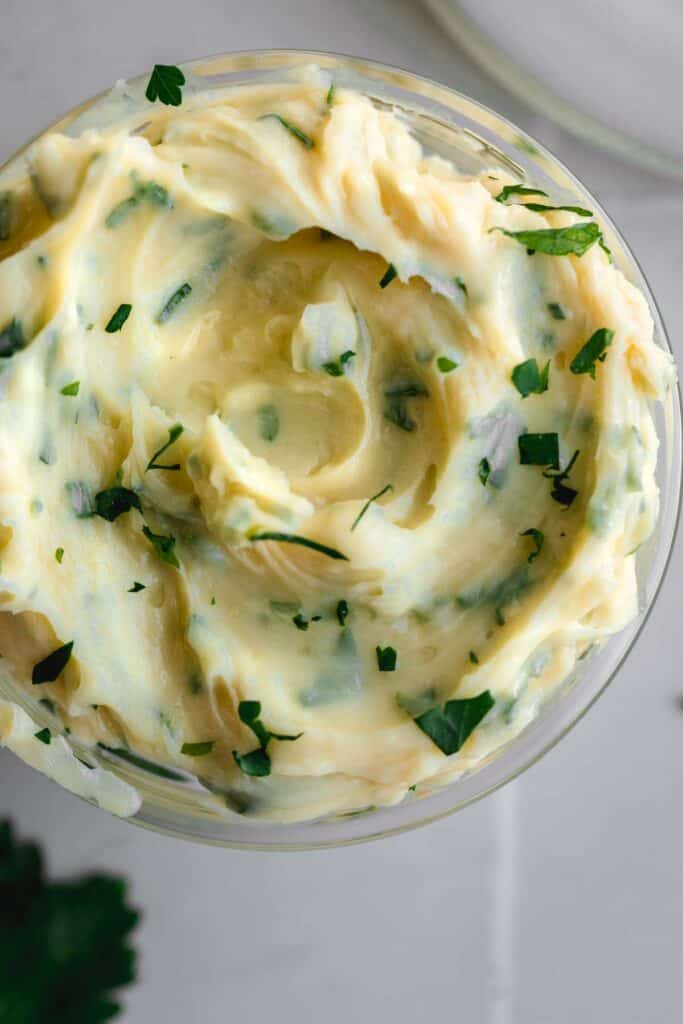
This Roasted Garlic Butter recipe is delicious caramelized garlic mixed with fresh chives, parsley and salt in creamy butter. Also known as compound butter, it can be used on bread, meats, vegetables, pizza and more. This garlic lovers recipe has so may uses!
This homemade butter recipe is an easy way to give many dishes and extra layer of flavor. One of my favorite things to use this butter on is Garlic Bread Pizza and Air Fryer Ribeye Steaks.
Jump to:
Recipe Ingredients
- Butter - I use unsalted butter so I can control the amount of salt.
- Kosher Salt - I use Diamond Crystal Kosher Salt.
- Garlic - A fresh head of unpeeled garlic.
- Chives - Fresh chives give a light onion taste.
- Parsley - Fresh parsley gives a fresh delicious flavor.
- Olive Oil - A drizzle of olive oil is needed on the garlic bulb so it doesn't burn.
How To Make Roasted Garlic Butter
This is one of my favorite ways to jazz up a meal using basic ingredients. You can never have enough garlic!
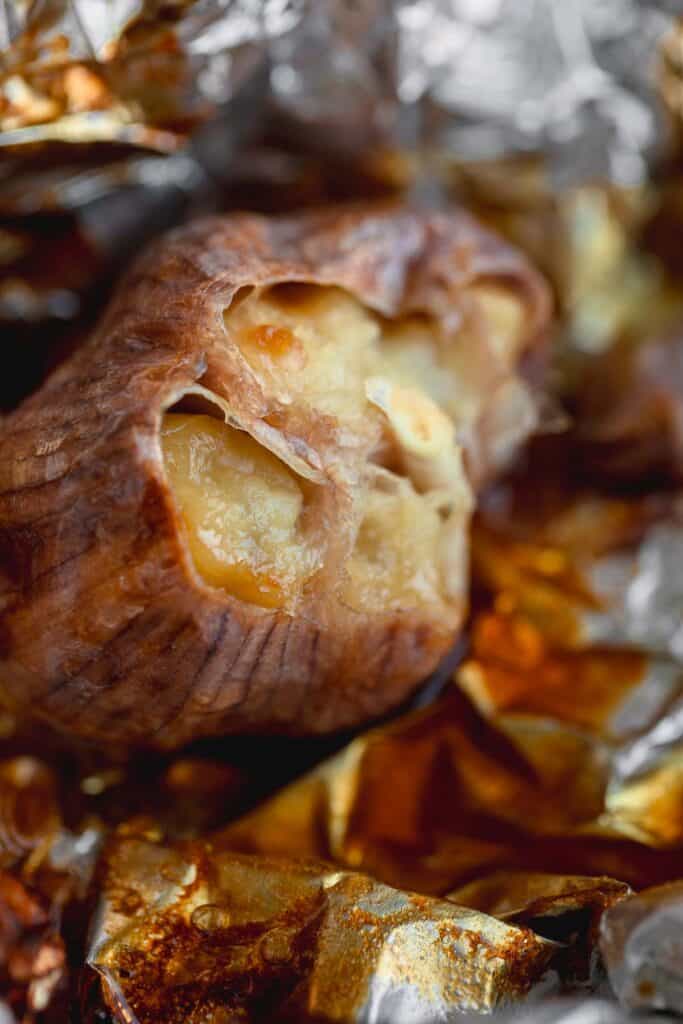
- Step 1: Prepare the Garlic Preheat your oven to 400°F (200°C). Slice off the top ¼ inch of the whole garlic bulb to expose the cloves. Drizzle garlic with olive oil, pinch of salt then wrap it tightly in aluminum foil. Place the piece of foil on a baking sheet then roast in preheated oven for 30-35 minutes. The cloves will be soft and golden brown.
- Step 2: Soften the Butter - Take a stick of unsalted butter and allow it to soften at room temperature.
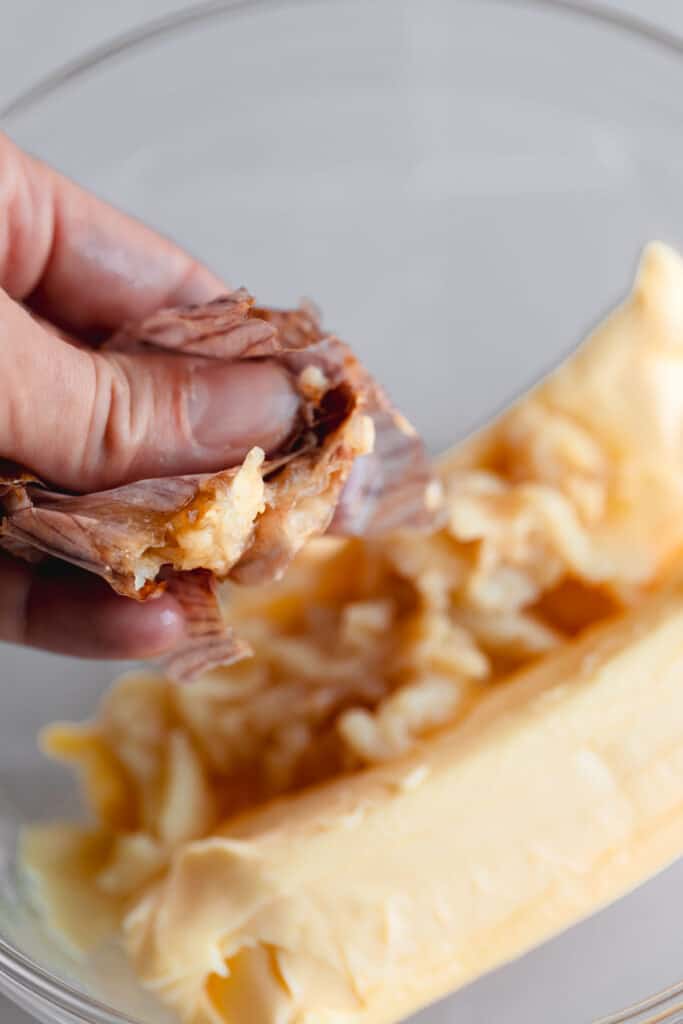
- Step 3: Squeeze the Roasted Garlic - Once the roasted garlic has cooled, squeeze the cloves of garlic out of the skin.
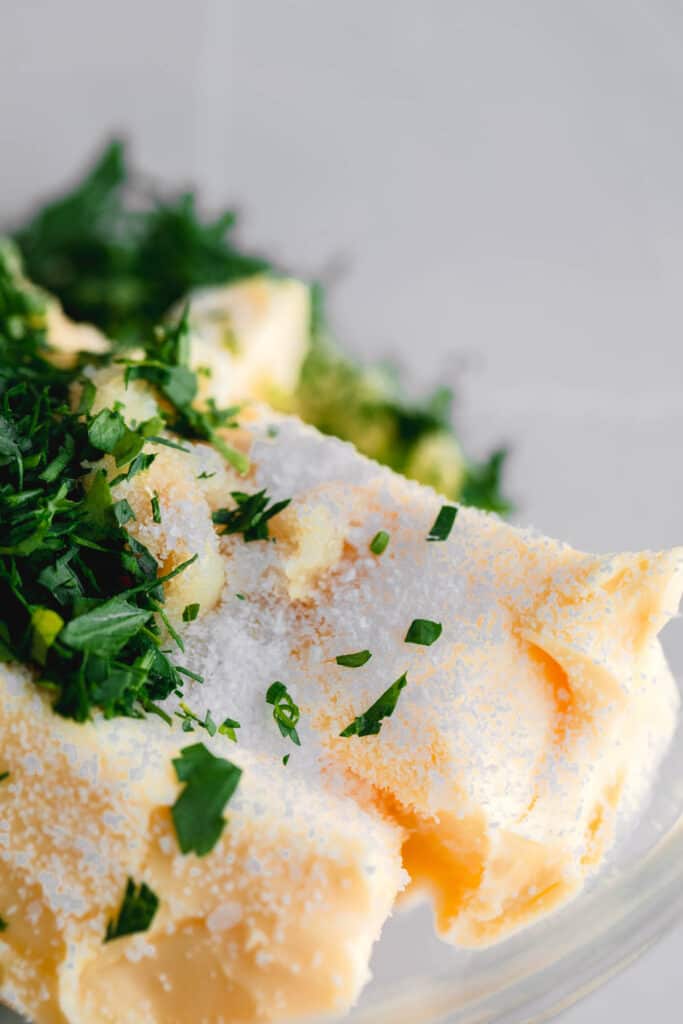
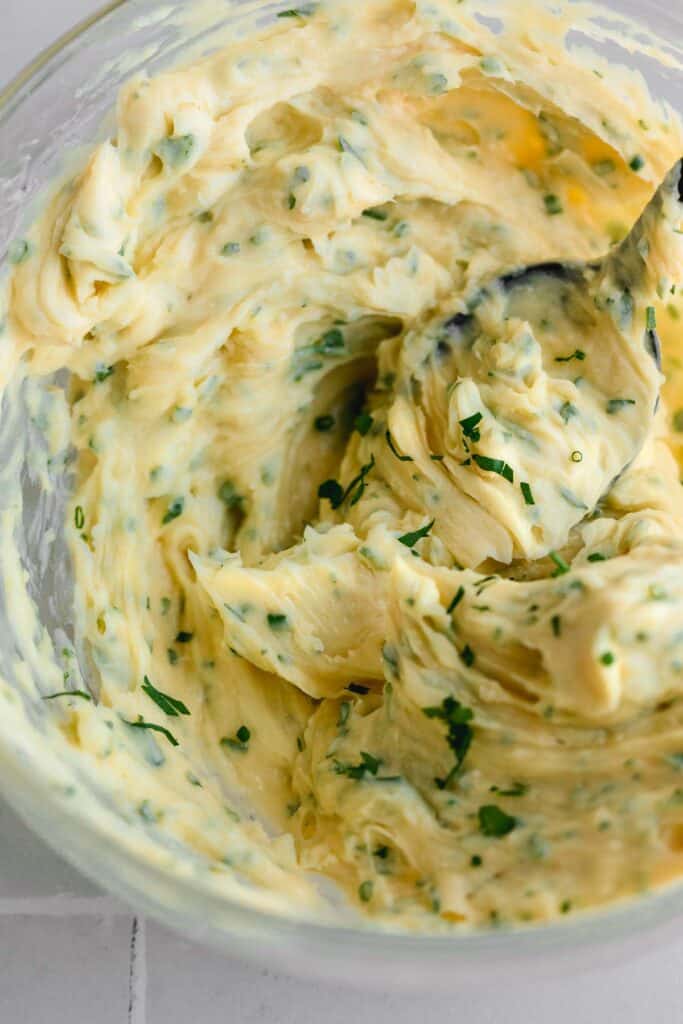
- Step 4: Blend the Ingredients - In a mixing bowl, combine the softened butter with the roasted garlic cloves. Use a fork or a hand mixer to blend the two ingredients, creating a smooth and uniform mixture. You can also use a food processor to blend up your homemade roasted garlic butter.
- Step 5: Season to Taste - Add salt, parsley and chives to the garlic butter mixture. Adjust the seasoning to suit your taste preferences. You can also incorporate additional herbs, such as thyme or rosemary, for an extra layer of flavor and freshness.
- Step 6: Shape the Butter -Place the roasted garlic butter mixture on a sheet of plastic wrap or parchment paper. Roll the garlic butter into a log, using the wrap or paper to help shape it into a uniform cylinder. Twist the ends of the wrap to secure the log and maintain its shape. You also have the option to store the roasted garlic butter in a bowl tightly wrapped in plastic wrap or an airtight container.
- Step 7: Chill and Store - Refrigerate the wrapped garlic butter log for at least 1-2 hours. This allows it to firm up and develop its flavors. If you plan to store it for an extended period, you can freeze the log and use it as needed. Slice off medallions of roasted garlic butter to accompany your favorite dishes.
- Step 8: Enjoy Once the roasted garlic butter log has set, unwrap it and slice it into rounds. Serve this next level garlic herb butter alongside freshly baked bread on the dinner table, over mashed potatoes, grilled meats, or steamed vegetables. The rich and aromatic flavors of the roasted garlic butter enhance each dish.
With these simple steps, you can easily create your own roasted garlic butter. Whether you choose to spread it on warm fresh bread, melt it over a sizzling steak, or toss it with freshly cooked pasta, this roasted garlic butter recipe is so much more flavorful than regular butter. If you're a garlic lover, this garlic confit recipe is for you!
How To Roll Compound Butter Into A Log
Whether you're planning a special dinner party or simply looking to elevate your everyday meals, the process of rolling garlic compound butter into a log is surprisingly straightforward. Follow these simple steps to effortlessly craft your own flavorful butter log.
- Step 1: Choose Your Ingredients - Begin by gathering softened unsalted butter and your desired flavorings. These can range from fresh herbs like parsley, chives, rosemary, thyme, or basil to garlic, citrus zest, or chili flakes.
- Step 2: Combine and Blend - In a mixing bowl, combine the softened butter, garlic, and your chosen flavorings. For optimal results, ensure that the butter is at room temperature, allowing for easy blending. Incorporate the flavorings evenly into the butter by using a spatula or mixer. Make sure that the mixture is thoroughly combined to guarantee a uniform distribution of flavors.
- Step 3: Shape the Butter Mixture into a Log - Lay out a sheet of plastic wrap or parchment paper on a flat surface. Place the butter mixture in the center of the sheet then use your hands to shape into a rough log. Roll the butter mixture into a cylindrical shape, using the plastic wrap or parchment paper to help guide and shape it. If you desire a neater appearance, you can also use a bamboo mat or a ruler.
- Step 4: Roll and Secure - Once you have shaped the butter into a log, use parchment paper to tightly roll the butter log. Gently twist the ends to secure the log and maintain its shape. Make sure the log is compact and free from air bubbles.
- Step 5: Chill and Set - Place the wrapped butter log in the refrigerator for at least 1-2 hours, allowing it to firm up and solidify.
- Step 6: Serve and Enjoy - Once the compound butter log has set, unwrap it and slice it into round medallions. Serve and enjoy!
Variations & Substitutions
When it comes to culinary experiments, the possibilities are endless. Roasted garlic butter is pretty versatile. While the classic garlic butter recipe is delicious, exploring substitutions and variations can open up a world of new tastes and textures.
1. Vegan Option: For a vegan alternative, replace the butter with plant based butter or margarine. Roast the garlic as usual then blend it with plant based butter. Add a touch of lemon juice and nutritional yeast for a tangy, cheesy flavor. This creamy spread can be used as a substitute for traditional roasted garlic butter. It adds richness to vegan dishes and appetizers.
2. Dairy-Free Alternative: Roasted Garlic Olive Oil Blend For those avoiding dairy, consider creating a roasted garlic-infused olive oil blend. Roast the garlic cloves as usual, then combine them with a high-quality extra virgin olive oil. Blend the mixture until smooth. Use it as a dipping sauce for bread, a drizzle over salads, or a marinade for grilled vegetables and meats.
Variations for Roasted Garlic Butter
1. Herb Infusion: Rosemary and Roasted Garlic Butter Enhance the classic roasted garlic butter recipe by incorporating finely chopped fresh rosemary. This addition introduces an earthy aroma and a subtle pine-like flavor. It pairs exceptionally well with roasted meats, grilled vegetables, or even as a flavorful spread for crusty bread.
2. Citrus Zest Twist: Lemon Garlic Butter For a refreshing and tangy variation, add a pop of citrus. Incorporate freshly grated lemon zest and black pepper into the roasted garlic butter. The bright and zesty notes of lemon beautifully complement the rich sweetness of the roasted garlic.
3. Spicy Kick: Roasted Garlic Chili Butter Infuse a hint of spice into your roasted garlic butter by incorporating a dash of red pepper flakes or finely chopped fresh chilies and black pepper. The subtle heat from the chili perfectly balances the sweetness of the roasted garlic. A butter that can be used to add a fiery kick to grilled shrimp, roasted veggies or whatever you like.
Expert Tips
- Softening the butter makes it easier to blend with the roasted garlic, ensuring a smooth and consistent texture in the final compound butter.
- Roast garlic until soft, brown and easily oozes out the top when squeezed.
- This roasted garlic butter recipe freezes really well.
- Make this butter ahead of time then keep in the fridge for dinners or holidays.
- This homemade garlic butter makes the best garlic bread!
Storing Roasted Garlic Butter
This roasted garlic butter recipe will last up to 2 weeks in the fridge if tightly wrapped in plastic wrap or stored in an airtight container.
Alternatively, you can store it on the counter for 48 hours.
If you prefer a longer storage time, you can transfer the garlic compound butter to the freezer and store it for up to several months. Freezing the compound butter log also makes it easier to slice off individual portions as needed.
Frequently Asked Questions
Roasted garlic butter can be kept in the fridge in an airtight container or tightly wrapped in plastic wrap for up to 2 weeks. It can also be stored in the freezer for up to 2 months wrapped in plastic wrap.
Roasted Garlic Butter does not need to be stored in the fridge. It can be stored on the counter top at room temperature but only for up to 48 hours. Make sure to cover the compound butter with plastic wrap or store in an airtight container. Although roasted garlic butter does not need to be stored in the fridge, refrigerating it will prolong it's shelf life by quite a bit.
Roasted garlic has that same garlic flavor you love but is a bit sweeter and more mellow. It doesn't have as much as a bite because roasting tones it down. Garlic has naturally occurring sugars that caramelize when roasting, which cause the garlic to take on a sweeter taste. Is it better? That's up to you to decide!
Roasted Garlic Butter
Equipment
Ingredients
- 1 head garlic outer layers peeled
- 1 tablespoon olive oil
- 16 tablespoon unsalted butter room temp
- 2 teaspoon kosher salt I use Diamond Crystal
- 1 tablespoon fresh parsley chopped
- 1 tablespoon fresh chives small chop
Instructions
Roasting The Garlic
- Preheat the oven to 400°F
- Cut the top (about ¼ inch) off the head of garlic. Place the garlic on a small sheet of heavy duty aluminum foil (about 5x5)
- Drizzle the olive oil over the top of the garlic, sprinkle with a pinch of salt, then wrap the aluminum foil up over the top of the garlic securing it so the oil does not leak out
- Roast for 30-40 minutes until garlic is a medium brown color, fragrant and soft. Remove from oven and set aside
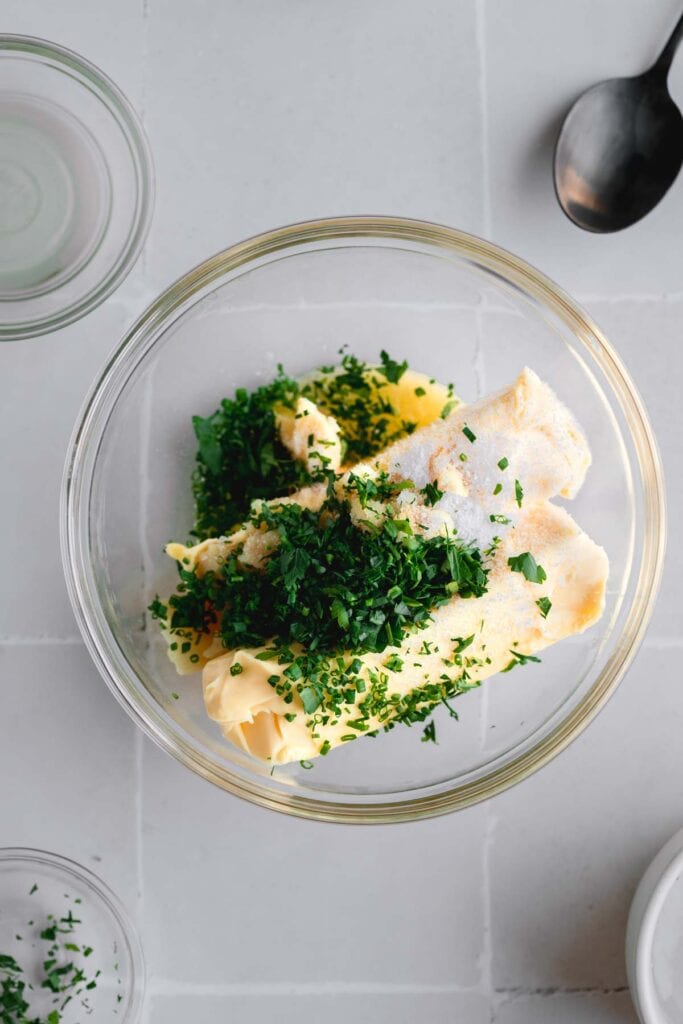
Mixing Butter
- In a medium mixing bowl, mix the roasted garlic, butter and salt
- Mix in the parsley and chives
- Butter can be stored at room temp for up to 2 days or in the fridge for up to 2 weeks


Leave a star rating and review, ask a question or share a helpful tip!