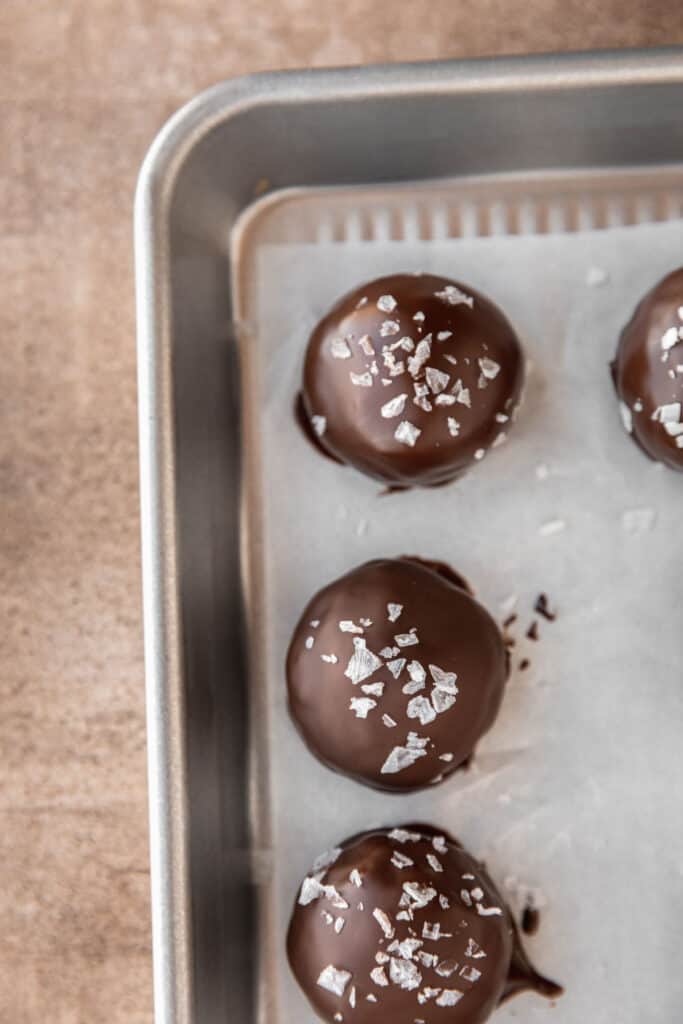
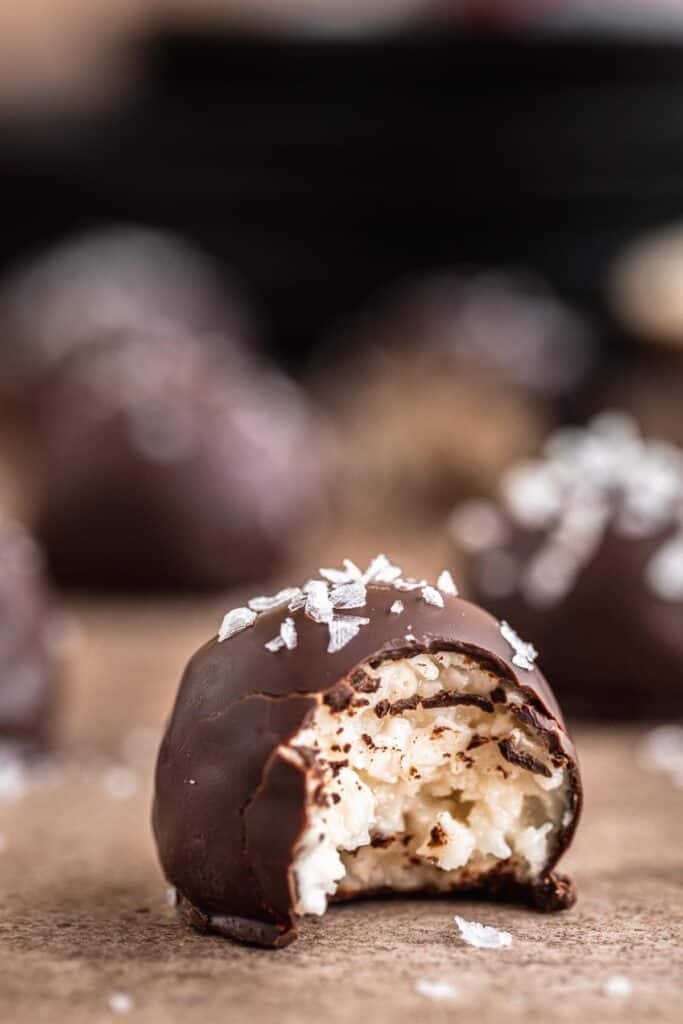
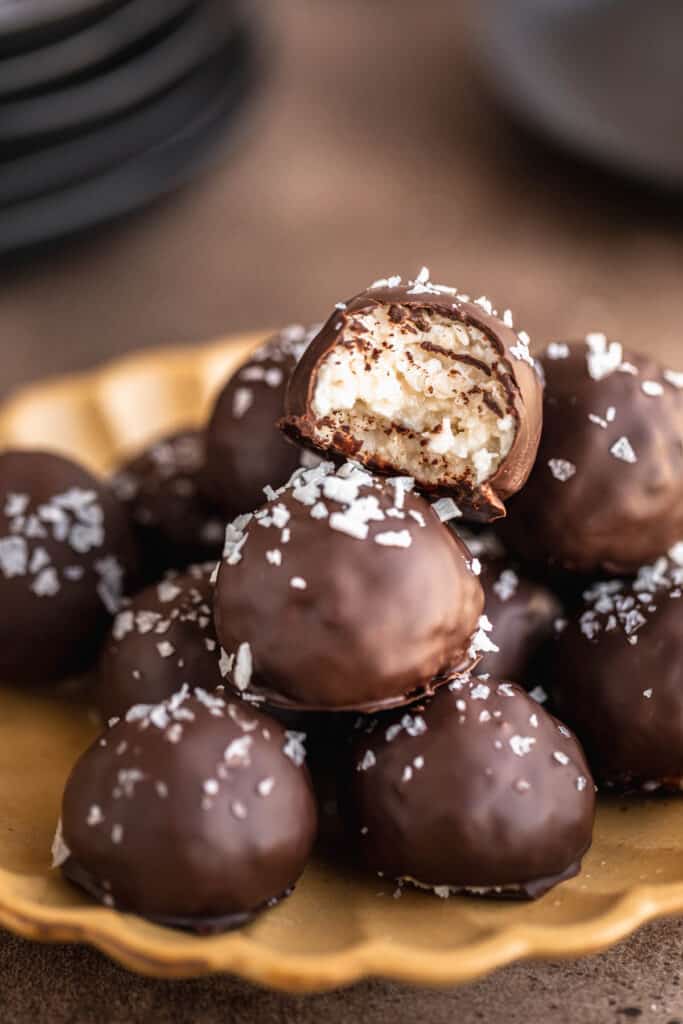
These No Bake Chocolate Coconut Balls are EASY and packed with coconut flavor! Sweet coconut filling covered in dark chocolate coating then topped with flaky sea salt. They taste just like a Mounds Bar!
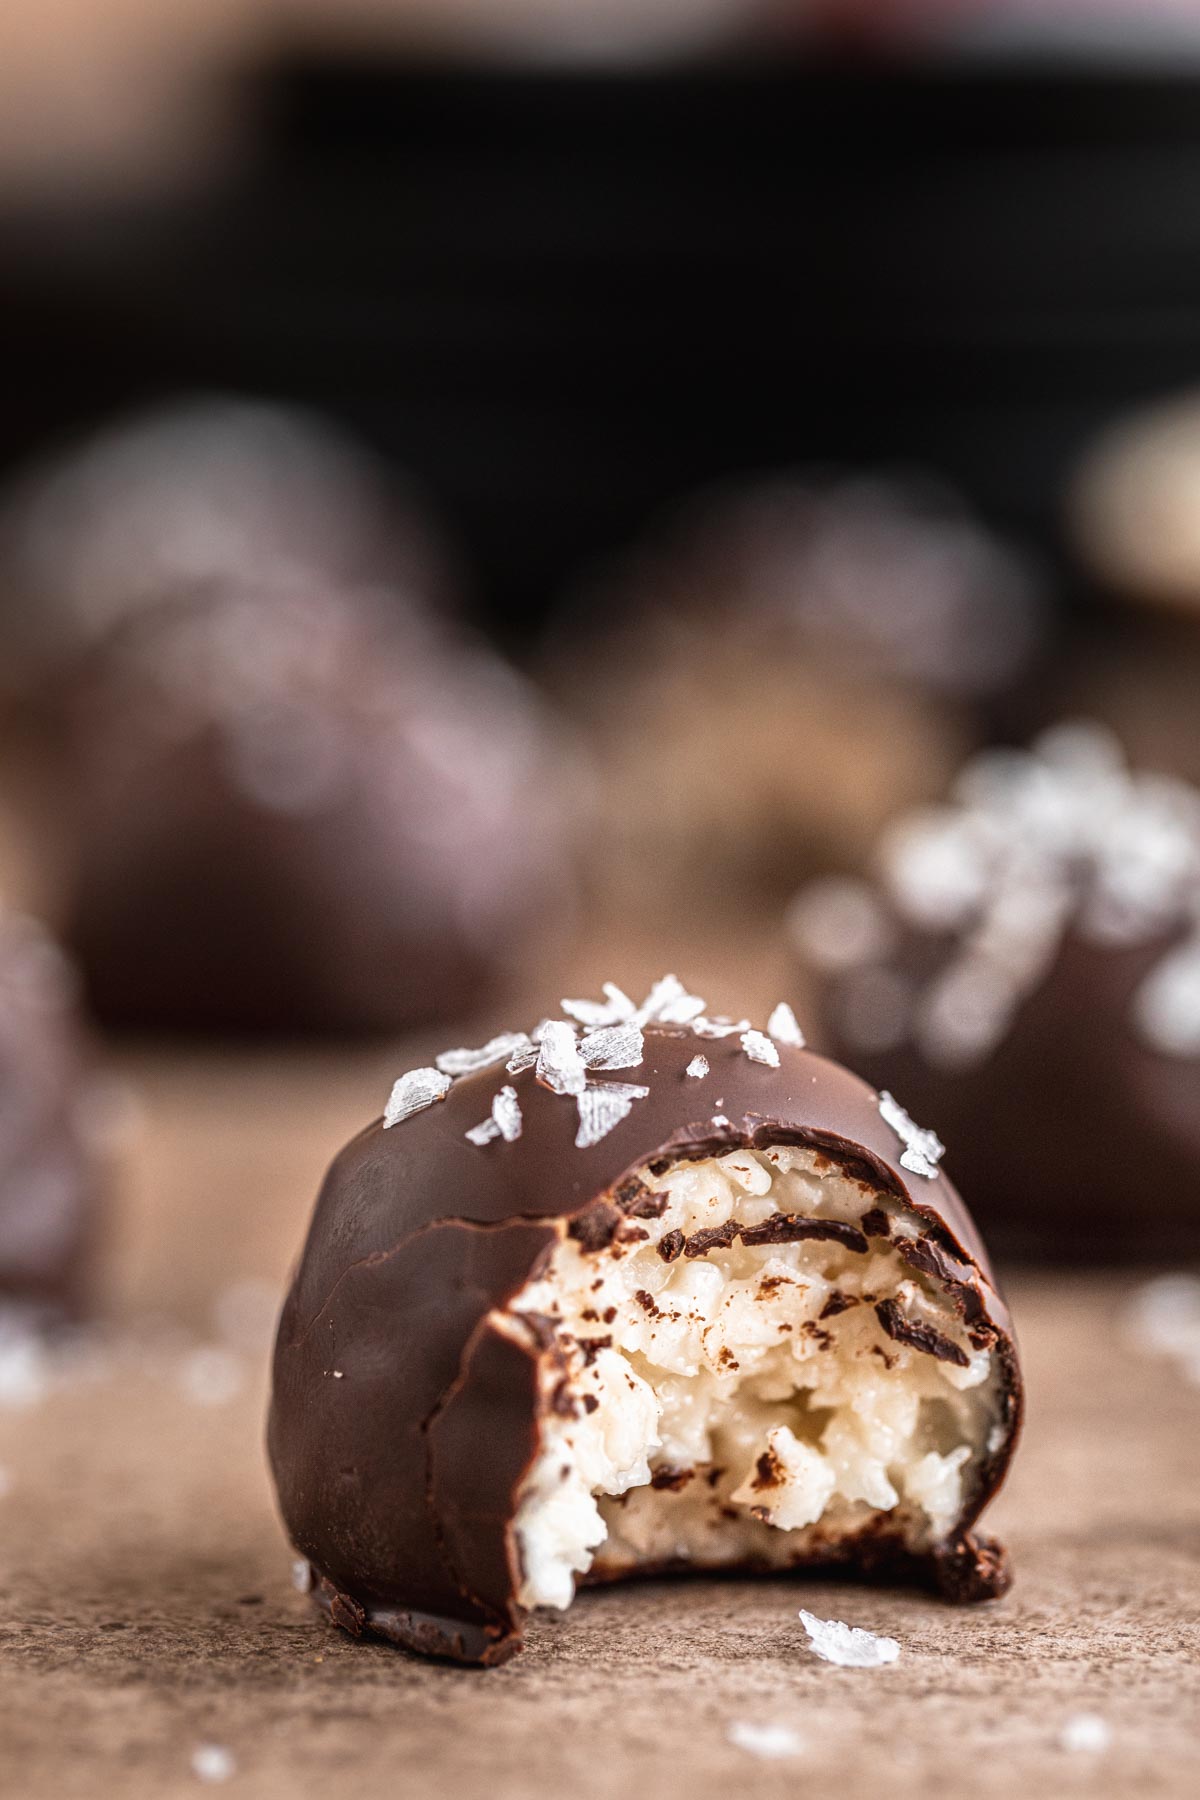
I always think of holiday season when I think of these. They're a great addition to your Christmas Cookie Recipes lineup.
These No Bake Chocolate Coconut Balls, also known as Coconut Truffles, go perfectly alongside Hot Chocolate Cookies, Soft Molasses Cookies, Soft Gingerbread Cookies and Brown Butter Toffee Chocolate Chip Cookies
This sweet treat isn't just for the Christmas season though, it's a great recipe for Valentine's Day and Easter too. Really anytime you have chocolate cravings!
They definitely satisfy my sweet tooth and I love how small and pop-able they are. They make for a great small snack.
Next time you're looking for easy recipes to make with the kids, head to the grocery store and grab these simple ingredients. No Bake Chocolate Coconut Balls don't have to be just for specific holidays.
These delicious coconut balls can be for anytime!
Jump to:
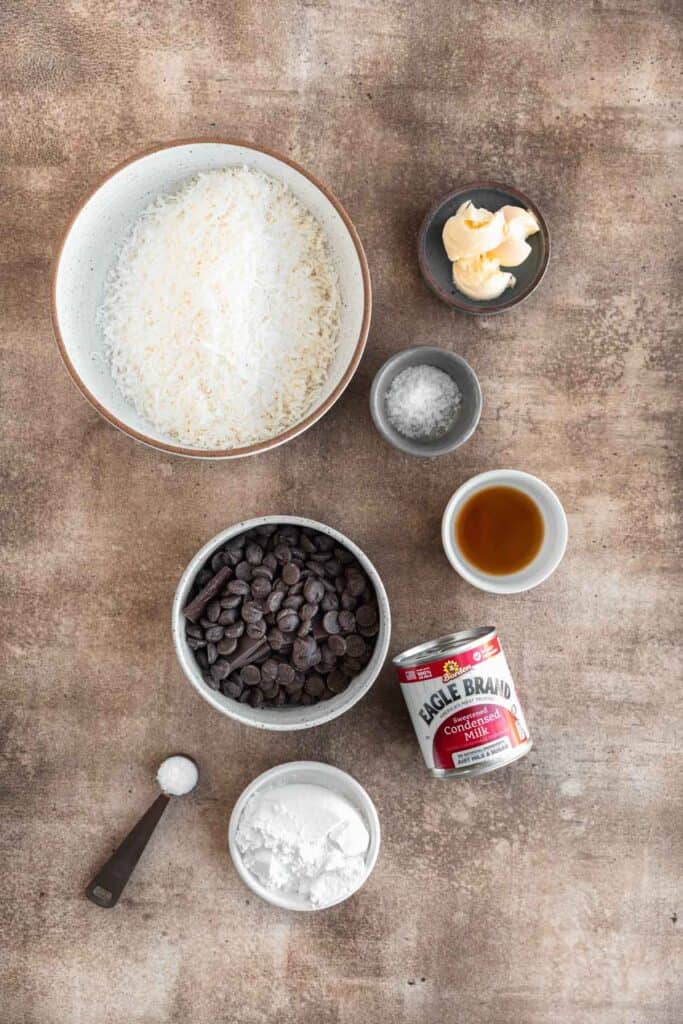
Ingredients in No Bake Chocolate Coconut Balls
- Desiccated Coconut - This is unsweetened coconut. You can use shredded coconut or unsweetened coconut flakes. Either way is fine because you're going to put it in the food processor
- Confectioners' Sugar - Also known as powdered sugar
- Sweetened Condensed Milk - This will help sweeten the coconut balls and help the coconut mixture stick together
- Vanilla Extract - Vanilla adds a little extra flavor to the No Bake Chocolate Coconut Balls
- Kosher Salt - Salt helps bring out the flavor of the ingredients
- Dark Chocolate - I like to use dark chocolate to dip the coconut balls. I can also use milk chocolate or a semi sweet chocolate
- Shortening - I use butter flavored shortening for this recipe. You can also use unsalted butter or coconut oil
- Flaky Sea Salt - Optional for topping the No Bake Chocolate Coconut Balls with. I love a little extra salt with my sweets
Equipment needed
- Food Processor - The coconut gets blended in a food processor to make it finer
- Large Mixing Bowl - The coconut filling gets mixed together in a large bowl
- Cookie Scoop - A 1-inch cookie scoop works well to make the No Bake Chocolate Coconut Balls even sizes. You can also use a heaping tablespoon
- Sheet Pan - Line the Chocolate Coconut Balls on a sheet pan for freezing and after dipping into the chocolate
- Parchment Paper - Line your sheet pan with parchment paper or wax paper for easy cleanup
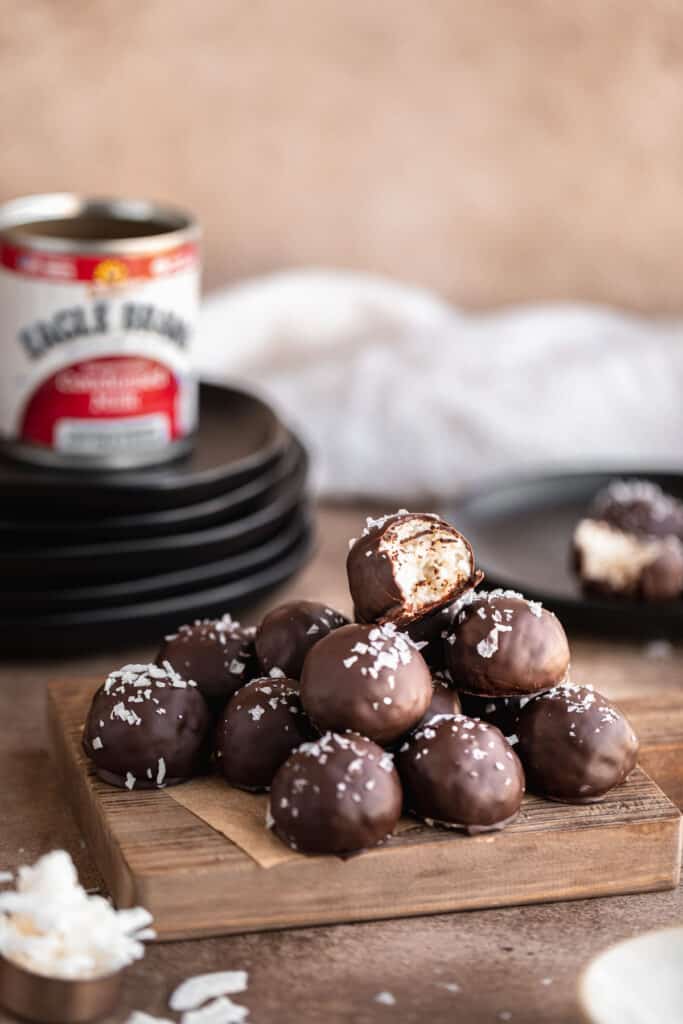
Tips for No Bake Chocolate Coconut Balls
- Don't skip the freezing step. This makes it easier to coat the Chocolate Coconut Balls and helps the chocolate set faster
- You can top the No Bake Chocolate Coconut Balls with flaky sea salt or set aside about 1 teaspoon of blended coconut and sprinkle a little coconut over the top
- Top the coconut balls about 15 seconds after coating them in chocolate. You don't want to wait too long because the chocolate will be set and the topping won't stick. You also don't want to do it too soon because the salt will "melt" into the chocolate
- If you're making these for the holiday then making a double batch is a good idea
- For these I typically melt the chocolate in the microwave in 30 second intervals but you can also use a double boiler to melt the chocolate and shortening together
- When it's the holiday time of the year these coconut chocolate balls are a great option. They're super easy and quick to make and everyone loves them
- You can dress these up a little by melting a couple ounces of white chocolate to drizzle over the set dark chocolate. I prefer using white chocolate bar over white chocolate chips
- After coating and topping the No Bake Chocolate Coconut Balls let them set in the fridge for about 30 minutes before eating them. It's one of those important things you don't want to skip or you'll end up with chocolatey fingers
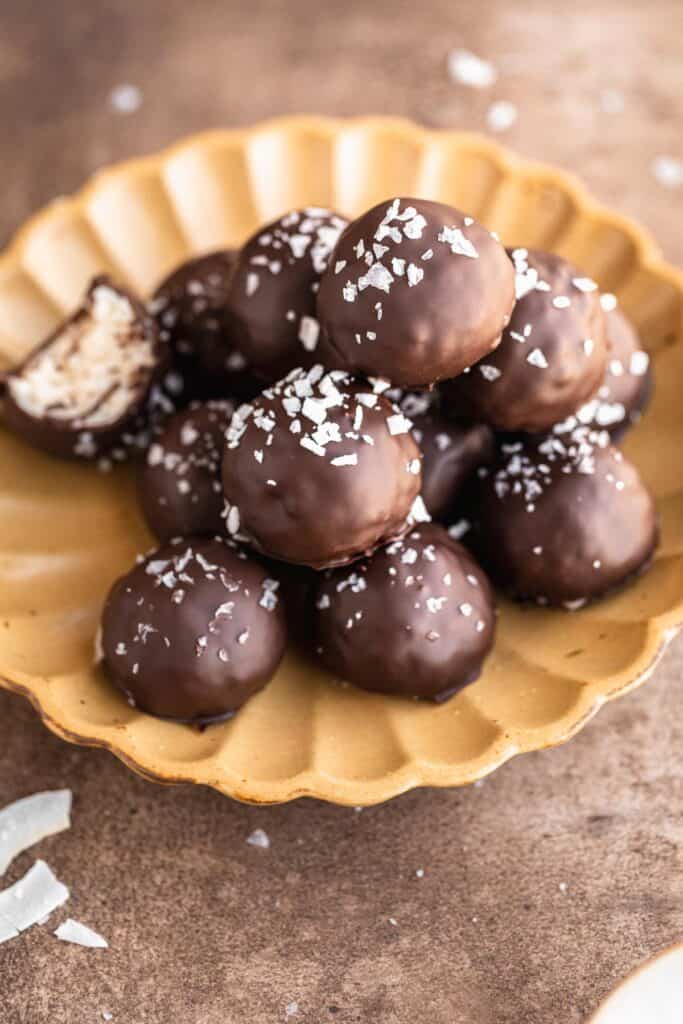
How to store No Bake Chocolate Coconut Balls
There are a couple options for storing No Bake Chocolate Coconut Balls. The first is in the fridge.
You can store the coconut balls on a plate uncovered, in an airtight container or in a Ziploc bag. They keep in the fridge for up to 7 days.
You can also store them in the freezer. Double bag them or use a bag and an airtight container. The chocolate coconut balls will stay good for up to 2 months in the freezer.
You can leave No Bake Chocolate Coconut Balls in an airtight container or in a Ziploc bag at room temperature for up to 48 hours.
How to serve
No Bake Chocolate Coconut Balls can be served at room temperature or chilled. I actually prefer mine chilled but they are delicious either way.
They go really well at any holiday. They can be served by themselves or you can serve them on cookie trays or in cookie boxes.
Chocolate Coconut Balls are great for school treats and parties because they are quick, easy and travel well. Don't forget to save yourself a freezer stash of them so you can grab one or two for a snack whenever you want!
How to make No Bake Chocolate Coconut Balls
Making these No Bake Chocolate Coconut Balls is a cinch! Start by blending the coconut in a food processor until it is a finer texture.
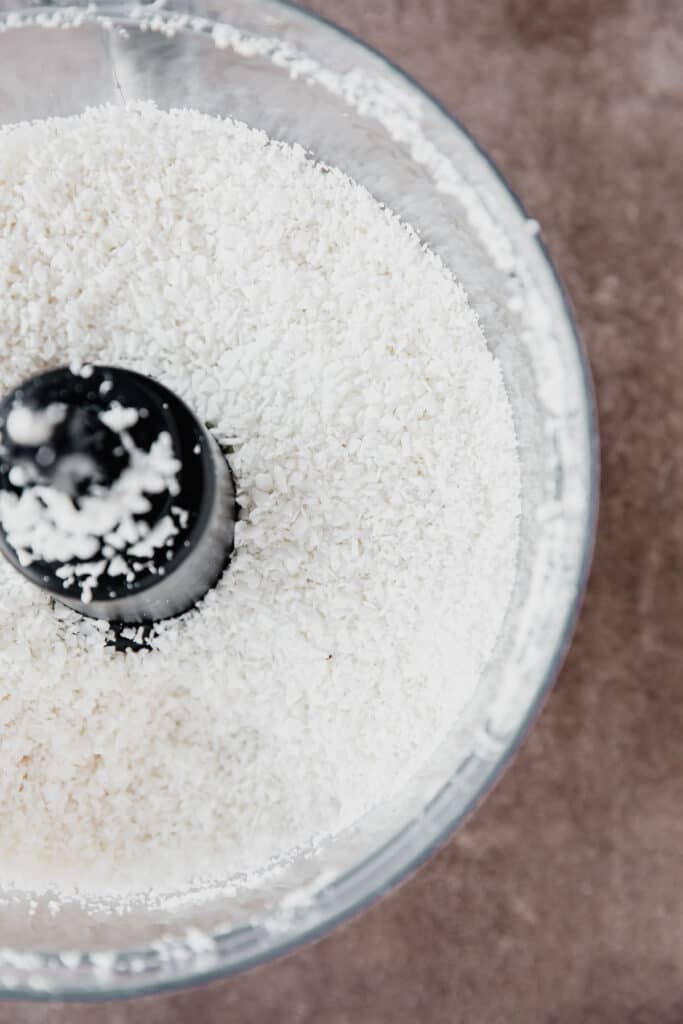
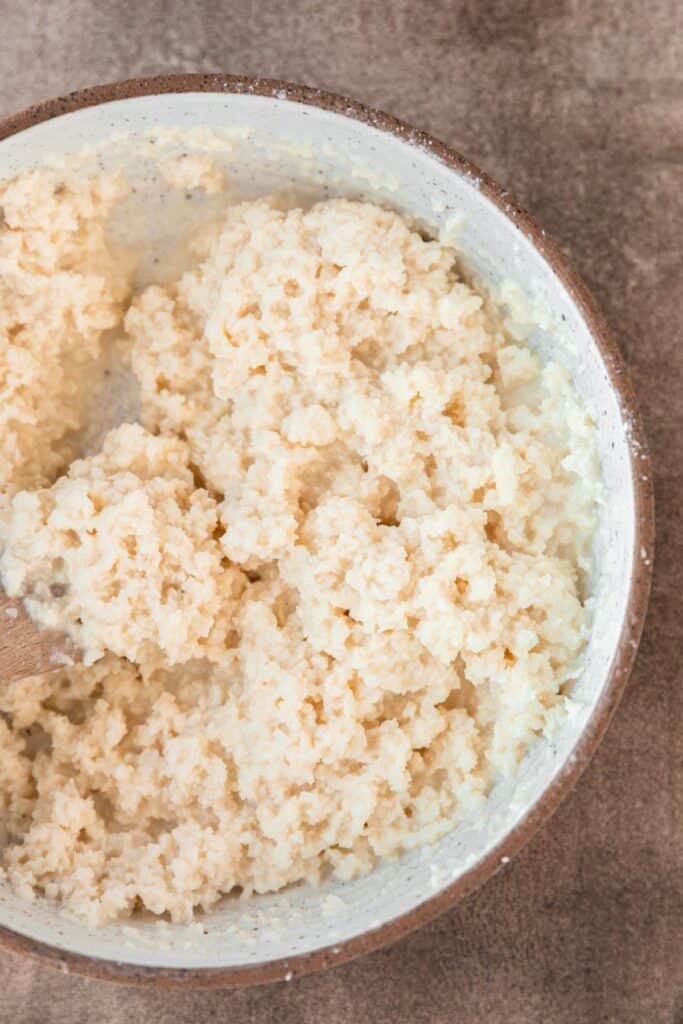
A little chunky is okay. Add the coconut, powdered sugar, sweetened condensed milk, vanilla and salt to a large bowl and mix well.
Make 1-inch balls and place it on a parchment lined sheet pan. A 1-inch cookie scoop works well for this or a heaping tablespoon.
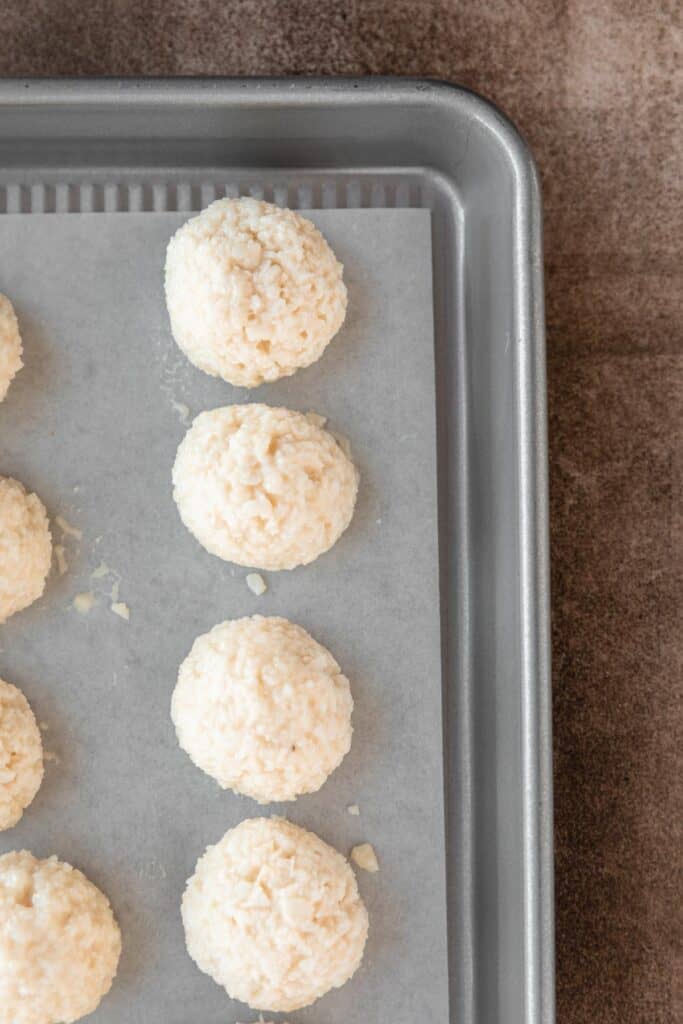
It should make about 23 small balls of coconut. Freeze the coconut balls for 15-20 minutes.
In the meantime, microwave the dark chocolate and butter flavored shortening in a microwave-safe bowl in 30 second increments. Stir the chocolate mixture between each 30 second increment.
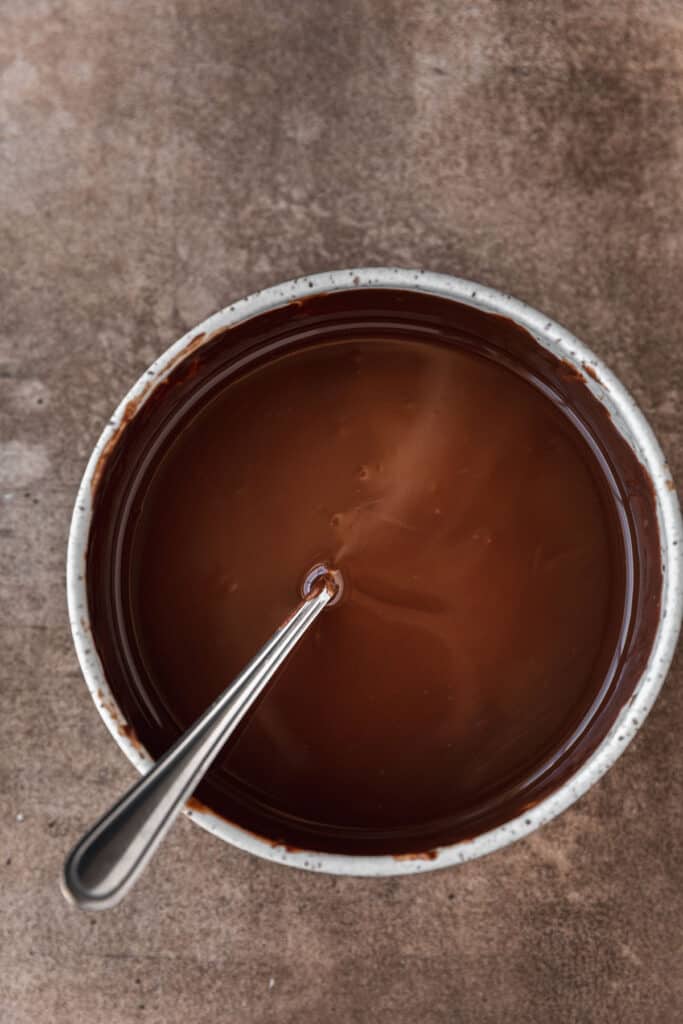
Use a fork to dip the coconut balls into the melted chocolate, one at a time. Tap the fork on the side of the bowl to shake off any excess chocolate from the coconut ball.
Place each chocolate covered ball on a baking sheet lined with parchment paper. Top each Chocolate Coconut Ball with flaky sea salt or blended coconut after you place it on the tray.

Refrigerate the chocolate coconut balls for at least 30 minutes prior to eating. This tasty treat can be enjoyed room temperature or cold.
Store the leftovers in an air-tight container in the fridge for up to one week or in the freezer for a couple months.
Please leave a rating and/or review!
If you make this No Bake Chocolate Coconut Balls recipe then please leave me a star rating and/or review! It's very helpful to bloggers when you leave ratings and reviews because it allows our recipes to be seen easier by you!
Don't forget to sign up for my newsletter to get every recipe sent straight to your inbox as soon as it's published. If you make this recipe and post a photo to social media, don't forget to tag me!
Follow along on Instagram, TikTok and Pinterest.
No Bake Chocolate Coconut Balls
Equipment
- 1 1-inch cookie scoop
Ingredients
Coconut Filling
- 7 oz unsweetened shredded coconut
- 14 oz sweetened condensed milk
- ½ cup powdered sugar
- 1 teaspoon vanilla extract
- 1 teaspoon kosher salt
Chocolate Coating
- 10 oz dark chocolate good quality
- 3 tablespoon butter flavored shortening regular shortening works too
Topping
- ¼ teaspoon flaky sea salt I use Maldon's
Instructions
Making the Coconut Filling
- Blend the coconut in a food processor until it becomes more fine. About 10 seconds
- Add the coconut and remaining filling ingredients to a large bowl and mix well
- Scoop the coconut filling into 1-inch balls and place them on a sheet pan lined with parchment paper
- Freeze the coconut balls for 15-20 minutes
Melting the Chocolate
- Microwave the chocolate and shortening in a microwave safe bowl in 30 second increments until smooth. Stir after each 30 second increment
- Use a fork and dip each coconut ball into the chocolate, fully coat it on all sides. Lift it out with the fork and let the excess chocolate drain off. Place on a sheet pan lined with parchment paper
- Top each chocolate coconut ball with flaky sea salt about 10-15 seconds after placed on the pan. Refrigerate for 30 minutes before serving


Leave a star rating and review, ask a question or share a helpful tip!