A Valentine's Day Charcuterie Board could be just what you needed for your party or romantic evening. Charcuterie boards are all the rage, and there's good reason. This board is packed with Valentine's Day themed candy, fruit and chocolate!
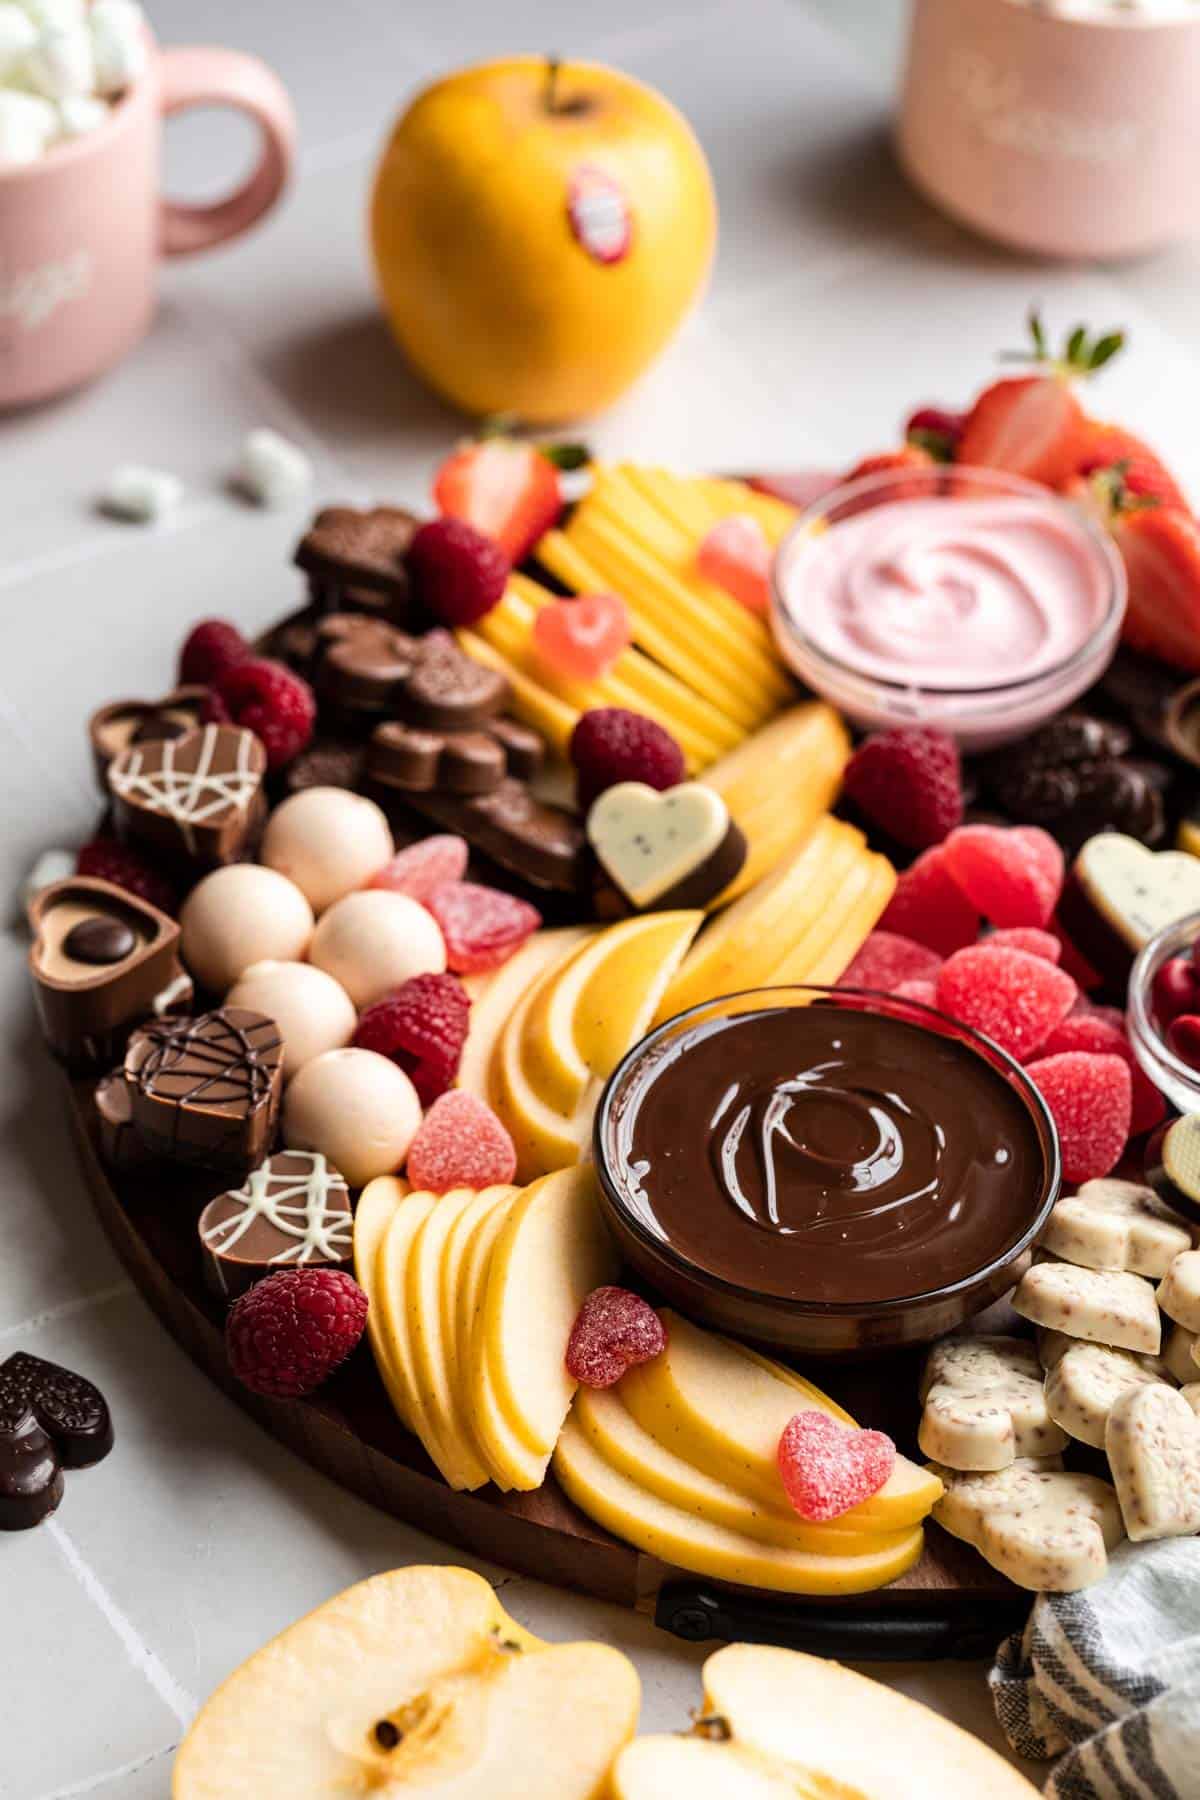
Usually for a Valentine's Day Charcuterie Board I do all sweets but sometimes I switch it up and cheeses or cured meats. My Easy Thanksgiving Charcuterie Board is full of delicious savory items.
The nice thing about any charcuterie board is you can swap out ingredients to customize to any theme! This Mini Cheesecake Recipe makes a great addition to the Valentine's Day board.
Jump to:
How to Create a Valentine's Day Charcuterie Board
When thinking of creating a Valentine's Day Charcuterie Board, there a few things you want to keep in mind. Here are some easy things to think about ahead of time:
- Color Theme - When creating a charcuterie board for Valentine's Day, you should use pink, red and white as your main colors. You can add small amounts of other colors, but those colors just scream Valentine's Day.
- Sweet or Savory - Decide if you want to do a sweet or savory board. You can also do a mix of both sweet and savory. For a little savory crunch, check out the best crackers for a charcuterie board. Crackers and chocolate are yummy together!
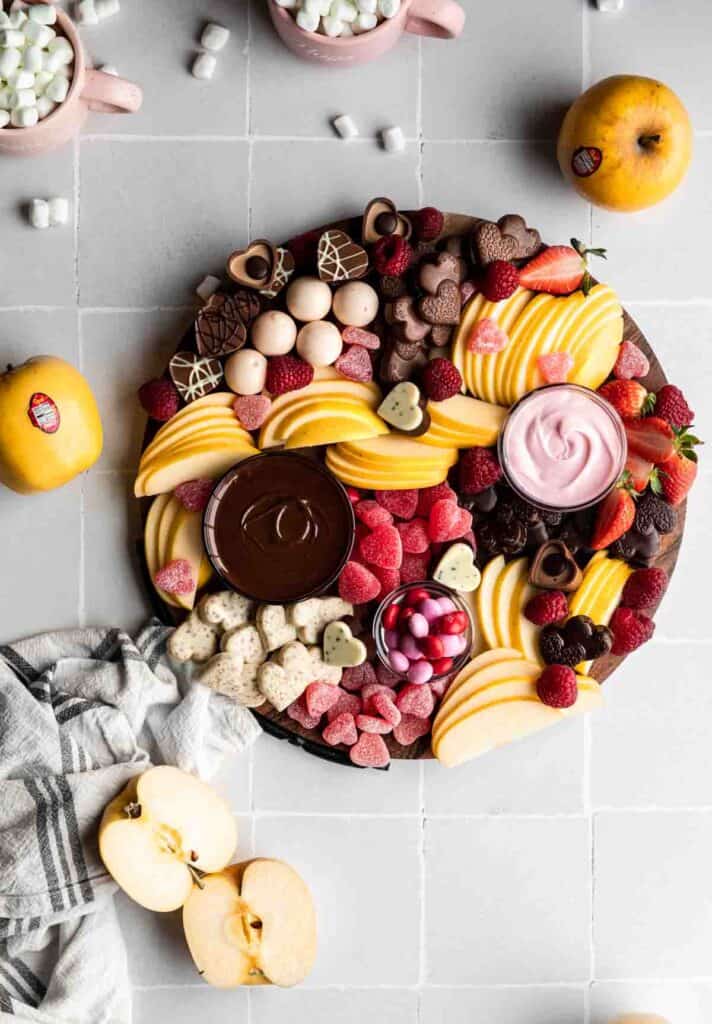
- Larger Items First - Once you decide what you're using and it's time to build, place the larger items on the board first. I usually start with any bowls or dishes I have. Then any food that is large or will take up more space, for instance the apples on this board.
- Make a Fun Pattern - Twist and move the items on the board to make fun patterns and shapes. This helps create movement on the board that is visually appealing.
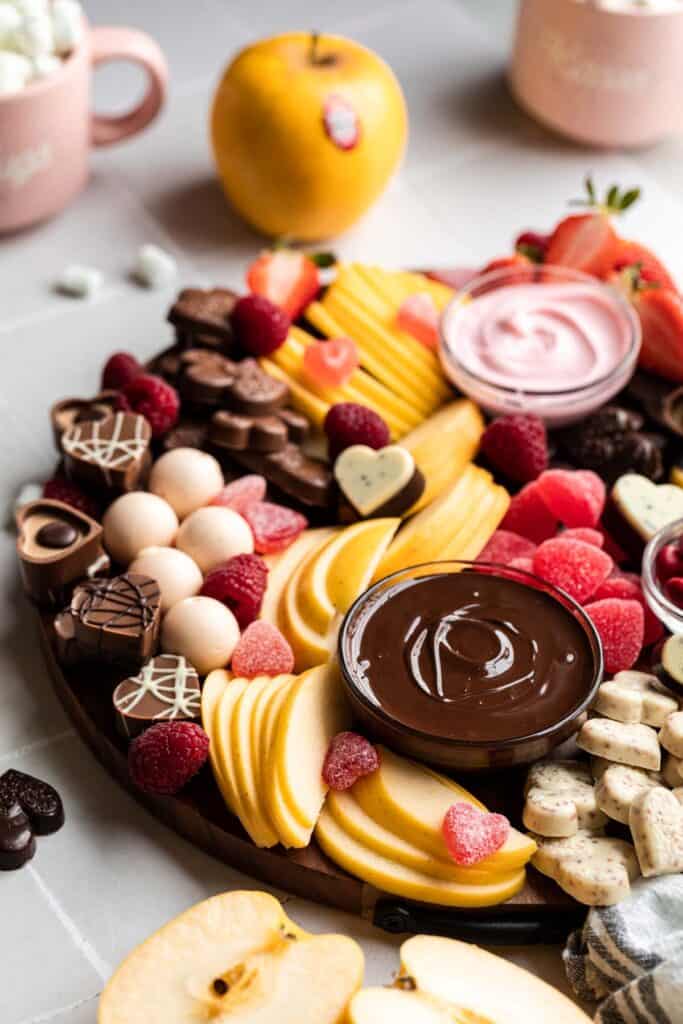
How to Make a Valentine's Day Charcuterie Board
Making a charcuterie board is fun and easy! There's really no "wrong way" to do it and it's totally customizable.
- Step 1 - Choose a board of appropriate size for the amount of people it's for.
- Step 2 - Pick a color palette. It's aesthetically pleasing and often certain colors tie in with themes, like Valentine's Day.
- Step 3 - Start building Valentine's Charcuterie Board with large items and bowls/dishes first. Once you place those items on the charcuterie board, you can build around them.
- Step 4 - Begin adding items, grouped together, in patterns or shapes. This creates movement on the board and creates a visual appeal.
- Step 5 - Fill in any small holes with leftover fruits, chocolate or candy pieces.
What fruits do I use?
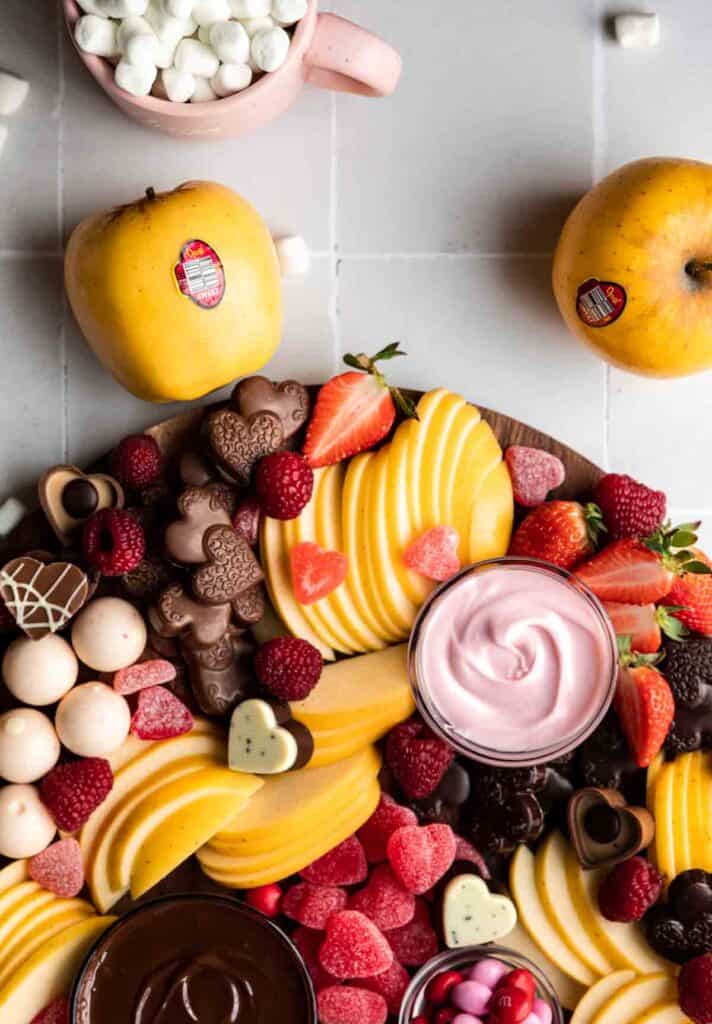
You can use whatever fruits you like. Juicy or fragile fruits don't hold up as well as others. For this Valentine's Day Charcuterie Board recipe I chose red fruits and Opal Apples.
Here are some fruits that work well for this Valentine's Day Charcuterie Board recipe:
- Strawberries
- Raspberries
- Cherries
- Opal Apples
- Red Grapes
- Pomegranate Seeds
Expert Tips
- Choose a color theme when creating this Valentine's Day Charcuterie Board recipe or any other board. It's makes the board more visually appealing.
- Build each ingredient in a pattern, grouped together. This helps create movement on the board.
- Use a variety of textures and shapes to make the board visually appealing.
- For this Valentine's Day Charcuterie Board you can use all sweets and fruits or you can add in cheeses and meats if you'd like. Choose a hard and soft cheese, white would be a great color to add in here. Salami and chorizo nuggets are a favorite to add to boards.
- Fill in small holes with fruits or chocolate after you've added all ingredients. This helps make the board look full and appealing.
- Add props that are appropriate to the theme. Heart dishes, red, pink or white bowls or red roses would work nicely for this Valentine's Day Charcuterie Board.
- If you're using apples then Opal Apples are a nice choice. I use these apples in my Easy Breakfast Charcuterie Board too! They're naturally resistant to browning, crisp, tart and a little sweet.
Equipment
- Charcuterie Board - Choose a board that is an appropriate size for the amount of people you're serving. I use a non-porous wooden board, marble or slate.
- Pinch Dishes - Use small bowls or containers to hold the chocolate, spreads or other items on your board. I typically put my olives in one when doing a more traditional charcuterie board.
- Set of Bows - You'll need a two heat proof bowls to melt the white and dark chocolate in the microwave. Alternatively, you could use a a double boiler.

FAQ
This Valentine's Day Charcuterie Board recipe can be made one day in advance, except for the chocolate. The chocolate needs to be melted immediately before serving. A more traditional charcuterie board can be made up to two days in advance. Cover it well with plastic wrap and store it in the fridge before serving. Take it out of the refrigerator 1-2 hours before serving to get the full flavor out of the ingredients.
There are two methods that work for melting chocolate for this board. Either way you choose, make sure the bowls and spoons you're using are completely dry. The tiniest bit of water will make the chocolate seize.
The microwave method: Using a microwave safe bowl, melt the chocolate in 20 second increments, stirring with a metal spoon in between each time. Repeat until chocolate is smooth.
Double boiler method: Heat a small pot of water over low-medium heat until it's almost simmering. No need to simmer, and definitely don't boil the water. Place a heat proof glass or metal bowl on top of the pot, making sure the water does not touch the bowl. Add the chocolate to the bowl then stir until smooth.
Choose a color palette: This will tie everything together and make the board visually appealing.
Make patterns and shapes: When placing items on the charcuterie board, group them together and in patterns or shapes. This will help create movement on the board for visual appeal.
Have a variety of textures: Again, this is for variety and visual appeal.
Use hard and soft cheese: If you're adding cheese to your board then choose some hard and some soft.
Non-porous surface: Choose whatever type of board is your favorite but make sure it is non-porous. This creates a food-safe environment where bacteria is less likely to grow.
Space items out: Space out items of the same category. If you have three chocolate items then place them in separate spots so they're not touching.
Start with large items: You'll want to add any bowls or dishes to the Valentine's Day Charcuterie Board first then move on to the next largest items. It's easiest to place those first then build around them.
Use items that are red, pink or white. Heart shaped candy or dishes. In this Valentine's Day Charcuterie Board recipe I used a red and pink color palette as well as adding red heart shaped candy to the board.
A great gift for someone that loves charcuterie boards is a new board, personalized or a new design. Cheese knife sets and pinch bowls are a good choice too!
If we're talking about this Valentine's Day Charcuterie board then chocolate and red fruits are a must! If it's a traditional charcuterie board then cheese, cured meats and olives are a must!
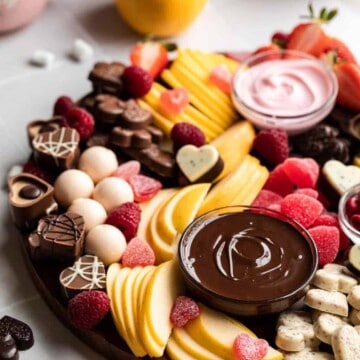
Valentine's Day Charcuterie Board
Equipment
- 1 set of pinch bowls
Ingredients
Fruits
- 3 opal apples sliced
- 1 pt strawberries
- 6 oz raspberries
Chocolate Candies
- 14 oz Ghirardelli chocolate assortment duet hearts
- 52.8 oz Ghirardelli signature chocolate collection heart shaped box, 12 pieces - 4.4oz ea
- 4 oz Lindt strawberries and cream white chocolate truffles
- 2 oz pink and red M&M's
Heart Candy
- 3 oz cinnamon heart shaped candy hearts
- 2 oz sour patch kids red hearts
Melting Chocolate
- 4 oz dark chocolate feves, chips or bar
- 4 oz white chocolate feves, chips or bar
- 2 drops red food coloring
Instructions
Building the Board
- Start building your board using the largest items first. Place 3 pinch bowls on the board to be filled later
- Arrange the apples on the board then the chocolate, strawberries and raspberries
- Fill in empty spots with heart candies
- Melt white chocolate in the microwave in 20 second increments, stirring between each time. Repeat until smooth. Add a couple drops red food coloring and stir to make pink chocolate. Add the pink white chocolate to one of the pinch bowls on your board
- Melt the dark chocolate in the microwave in 20 second increments, stirring between each addition until smooth. Add the dark chocolate to one of the pinch bowls on your board
- Fill the last pinch bowl with M&M's


Jennifer
Amazing!!!
admin
Thank you!!
Tammy Cruse
This looks top beautiful to eat! I will definitely be trying this! Thank you for the wonderful idea!