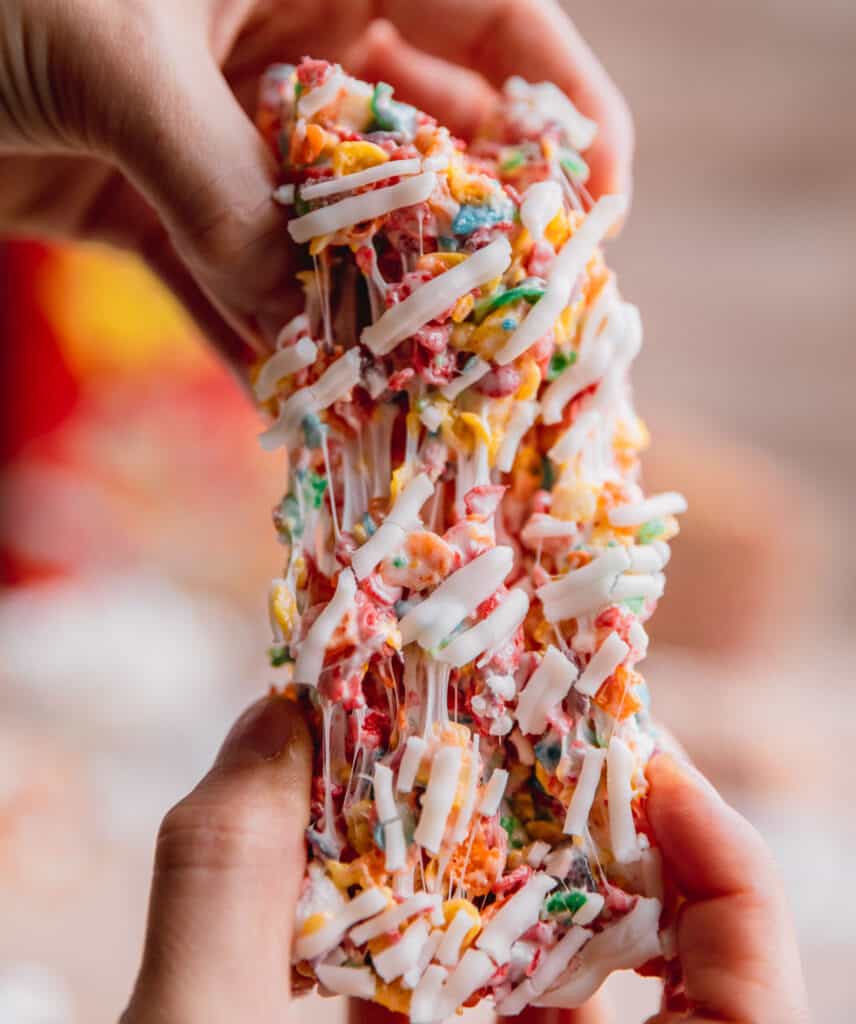
These Fruity Pebbles Treats are for kids of all ages, including adults!! This easy no bake dessert is packed with gooey marshmallow and topped with white almond bark. They even have extra marshmallows mixed in at the end for that extra goodness!
These bars are a fruity twist on classic Rice Krispie Treats. I don't know about you but I loved Rice Krispie Treats growing up.
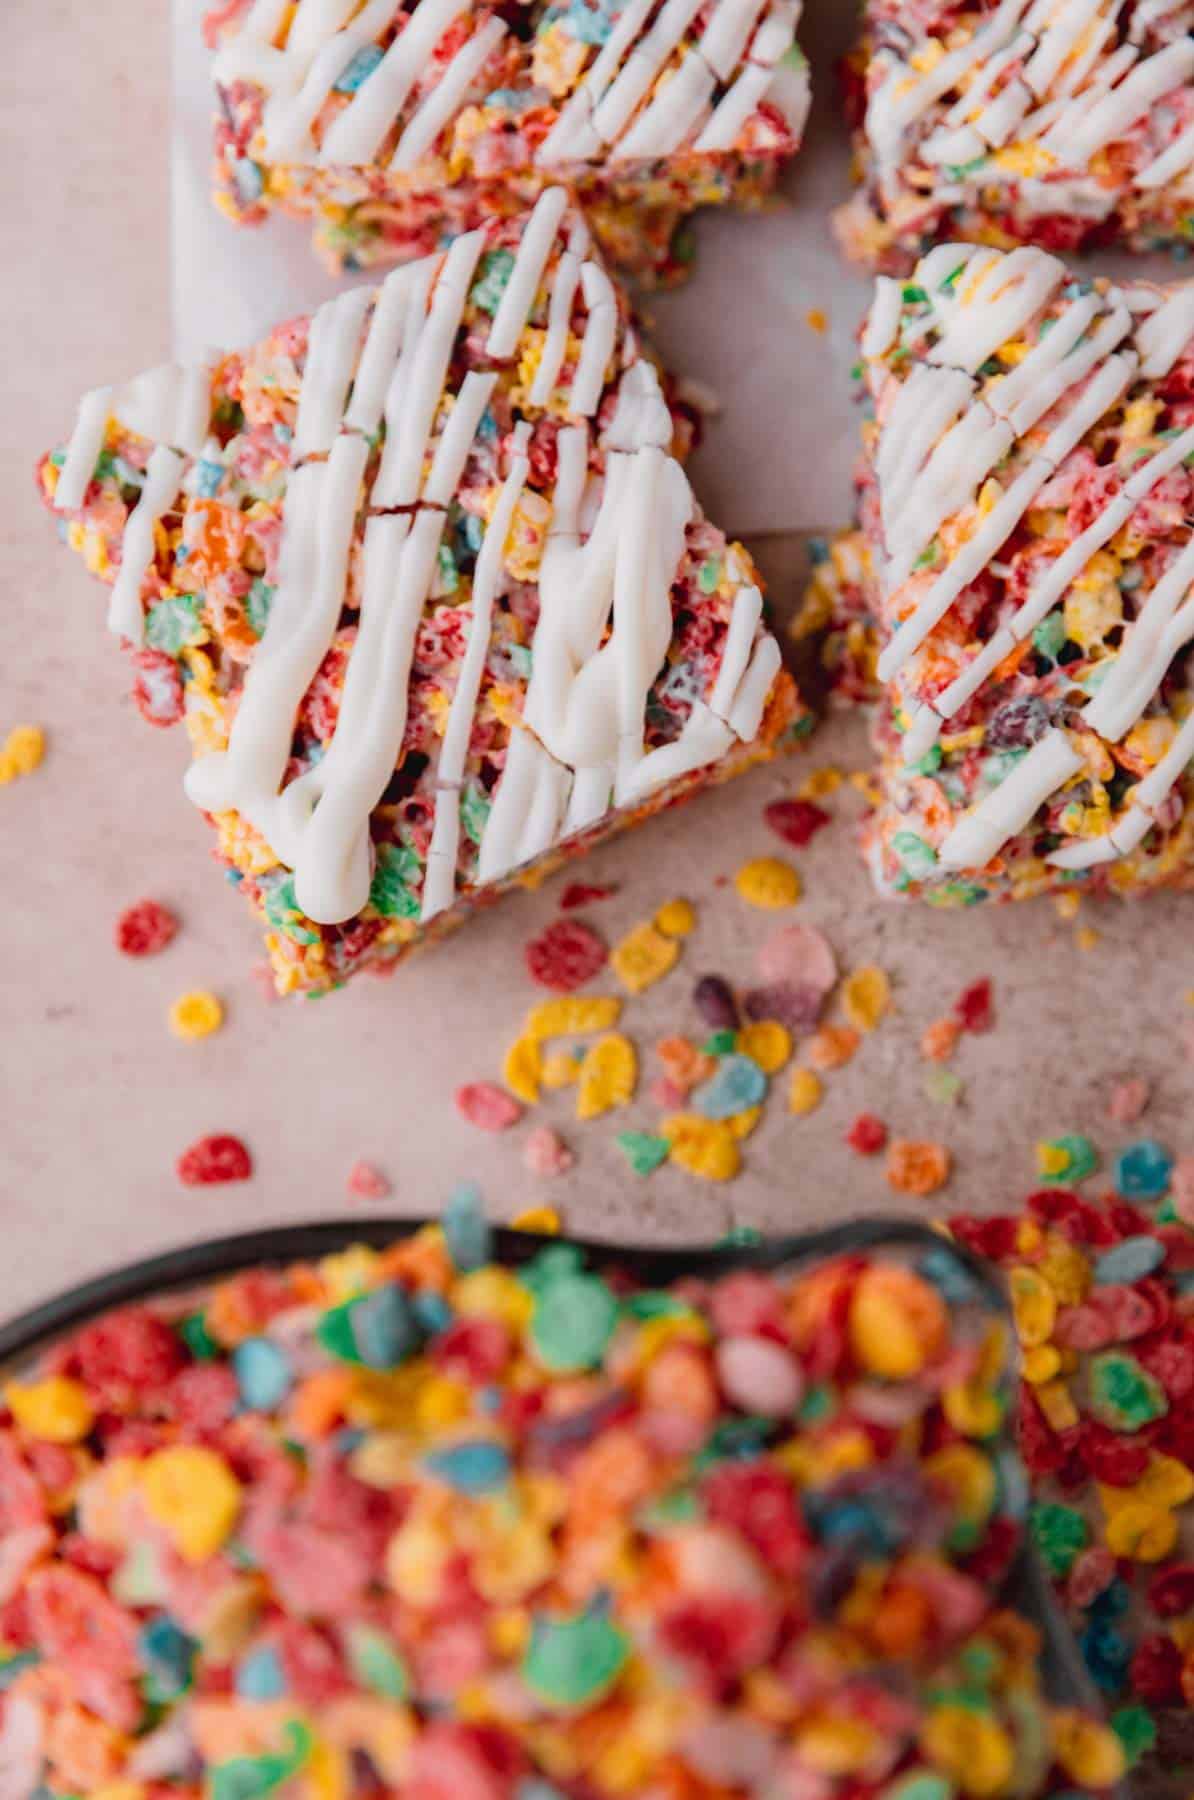
If you enjoy a bowl of Fruity Pebbles every now and again then you'll enjoy these cereal treats even more. I had a hard time not eating the whole pan to myself.
These chewy cereal bars are an easy snack for birthday parties, school lunches and a fun way to cook with the kids! Taffy Apple Salad is another quick and easy dessert for these occasions. Fruity Pebbles treats are a great way to use up any cereal that you've had sitting around!
I think my husband may have liked them more than the kids! Cinnamon Toast Crunch Cookies is another one of my favorites for all the cereal lovers out there.
If you love easy desserts then here are a few more you will love: The Best Blondies, Easter Peanut Butter Blondies, Chocolate Espresso Banana Bread
Jump to:
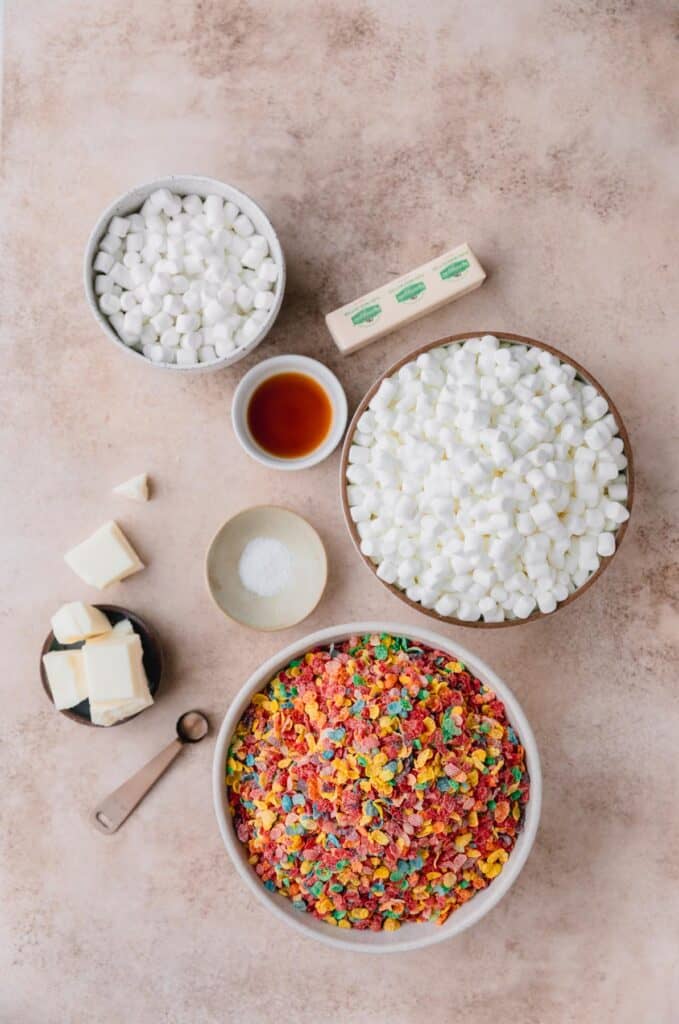
Ingredients for Fruity Pebbles Treats
- Fruity Pebbles Cereal - Fruity Pebbles make for a nice bright color and fruity flavor
- Jet Puffed Mini Marshmallows - Some will be melted down for that gooey marshmallow and some are stirred in for chunks of marshmallow
- Unsalted Butter - I use unsalted butter because I like to control the salt level myself
- Vanilla Extract - I use pure vanilla extract
- Kosher Salt - These Fruity Pebbles Treats are better with a little salt. It brings out the flavor and brings balance
- White Almond Bark - The almond bark is melted down then drizzled on top. You could also use white chocolate instead
Equipment needed
- Large Pot - Just make sure the pot is large enough to fill all of the ingredients when it's time to mix them together. I use this 6qt Dutch oven pot
- Wooden Spoon - I always use a wooden spoon when making
- 13x9 Pan - I use a 13x9 pan to make these Fruity Pebbles Treats. The recipe makes enough that the bars will still be thick in a 13x9
- Parchment Paper - I use parchment paper in the bottom of my pan sprayed with non-stick cooking spray for easy removal
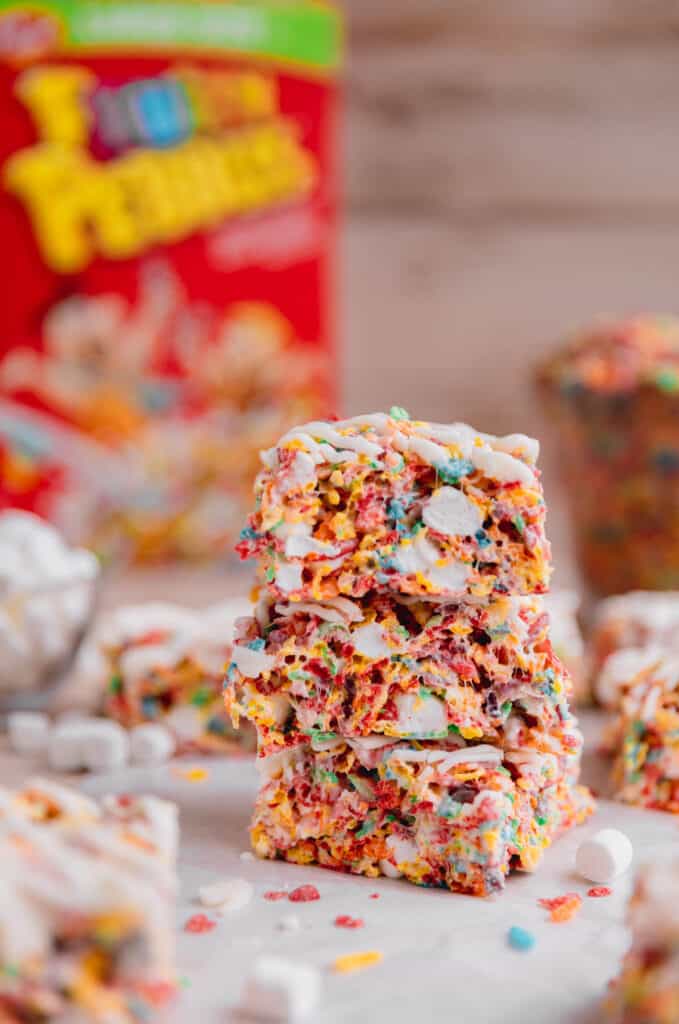
Tips for the best Fruity Pebbles Treats
- These Fruity Pebbles Treats already make thicker bars in a 13x9 pan. I wouldn't suggest making them in an 8x8 unless you want SUPER thick. If you like a thinner bar then you could use two pans instead of one
- For easy removal of these sweet treats, line your pan with parchment paper. I spray the pan with non-stick cooking spray, line the pan, cut all 4 edges of the parchment paper in the corners going downward toward the pan then fold so it fits. Lightly spray the top of the paper with non-stick cooking spray as well then you can just lift the whole thing out and cut them on a board when they're ready
- Spray the back of your wooden spoon with non-stick cooking spray before using it to press your Fruity Pebbles Bars down. That way it doesn't stick to the gooey Fruity Pebbles. You could also use a buttered spatula or spray your hands to press down
- Don't press down to hard in the pan! Press lightly so your Fruity Pebbles mixture stays soft and gooey instead of hard and crunchy
- You can experiment with any type of cereal in this recipe. The possibilities are endless! Try using Cocoa Pebbles, Cinnamon Toast Crunch, Peanut Butter Captain Crunch, Honey Nut Cheerios or even try half Rice Krispies and half of your favorite cereal. It's a good way to use up old cereal!
- If you want to have some fun, these Fruity Pebbles Treats are great for St. Patrick's Day, Easter, birthday parties or school treats. Try using a cookie cutter to cut out fun shapes!
- Tips listed on recipe card too!
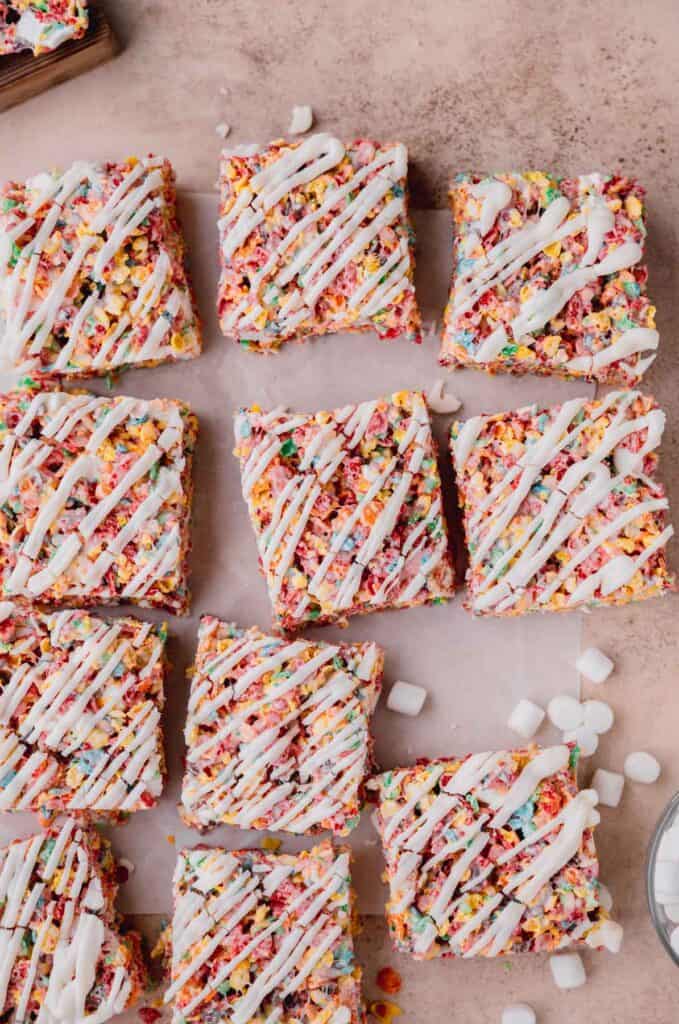
How to store Fruity Pebbles Treats
Fruity Pebbles Treats are best stored at room temperature. Keep them in an airtight container, Ziplock bag with air pressed out or wrap them with plastic wrap tightly in the pan you made them in.
The Fruity Pebbles bars will last for 5 days at room temperature as long as stored properly and air is kept out.
Can I freeze Fruity Pebbles Treats?
You can freeze these no bake treats as well. Wrap them individually in plastic wrap multiple times, very tightly.
Place them inside a Ziplock or in an airtight container after wrapping them. They are best eaten within the first month of freezing.
Freezing can alter the texture so it's best not to freeze them for long.
How to make Fruity Pebbles Bars
These Fruity Pebbles Treats only use 6 ingredients and come together very quickly. Spray a 13x9 inch pan with non-stick cooking spray then line it with parchment paper.
Spray the parchment paper with non-stick cooking spray. Melt the butter in a large pot, 6qt. or larger.
Add 20oz of mini marshmallows to the melted butter then cook over low heat. Cook it until it looks like marshmallow fluff.
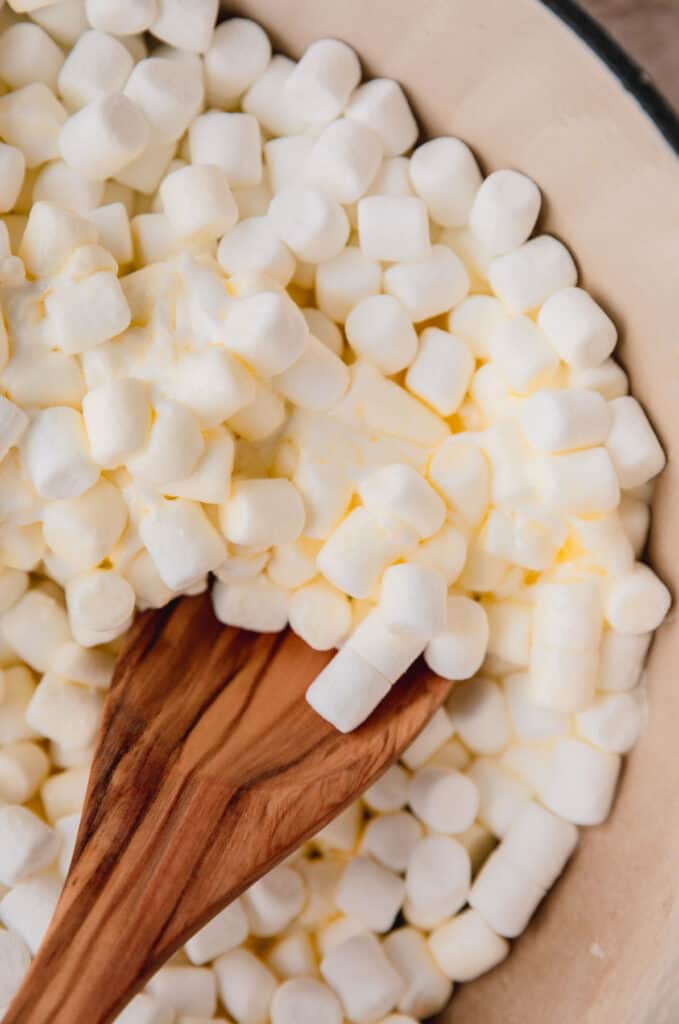
It will be smooth and melted. You don't want to cook over high heat because you could over cook or burn the marshmallow mixture.
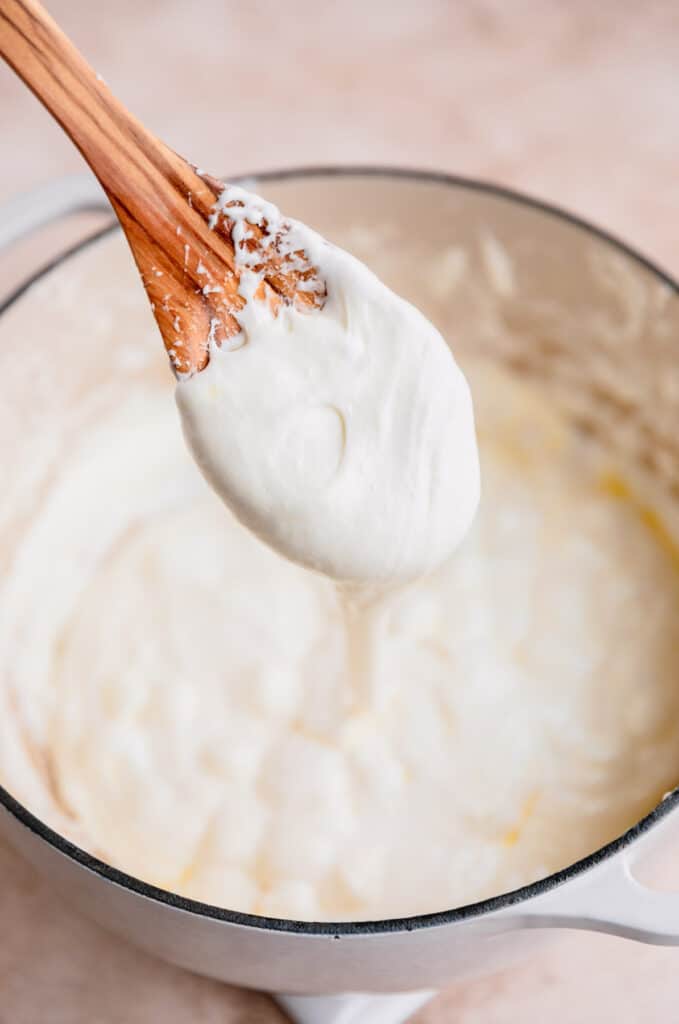
Remove the pan from the heat then stir in the kosher salt and vanilla. Gently fold in 10 cups of Fruity Pebbles.
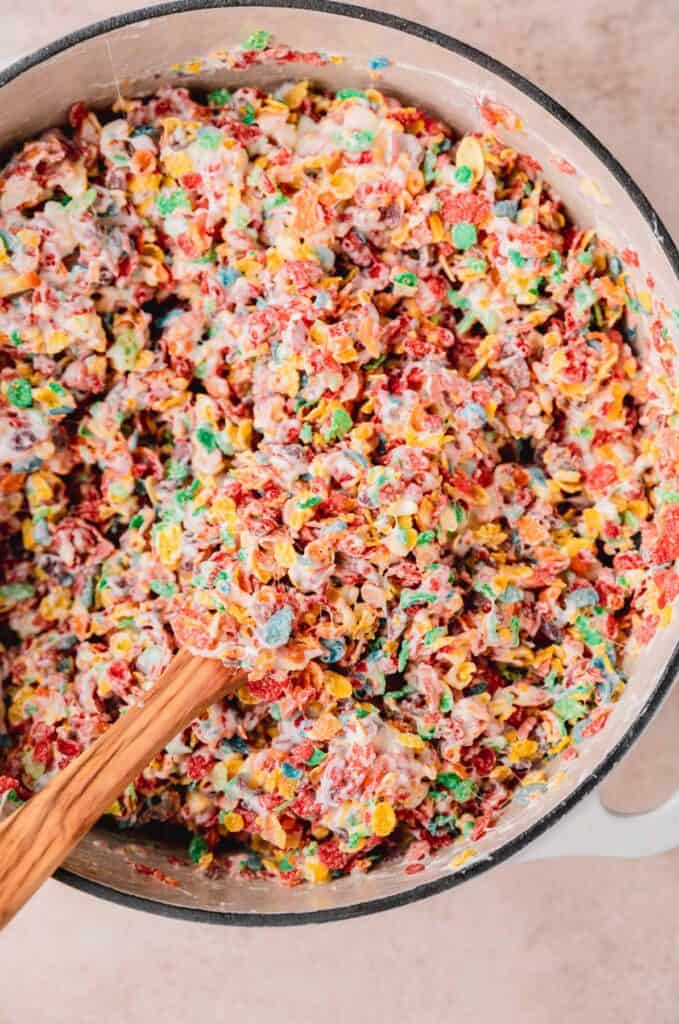
If you don't have a large enough pot, you can transfer everything into a large bowl to mix.
Fold in the extra two cups of marshmallows. Gently pour the Fruity Pebbles mixture into the prepared pan.
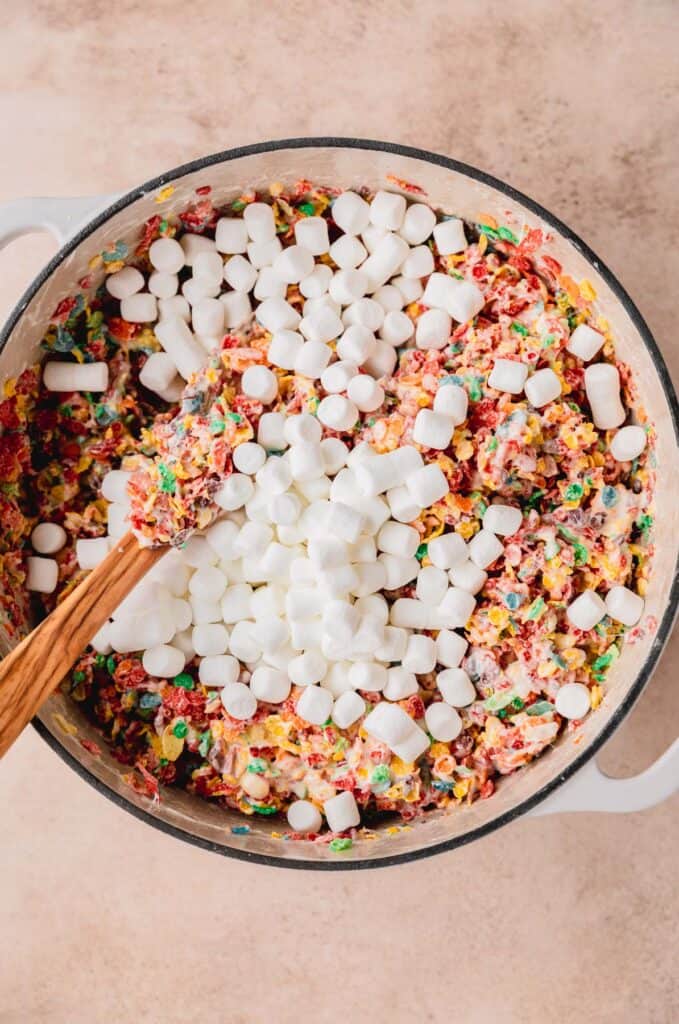
Spray the back of your wooden spoon with non-stick cooking spray and GENTLY press the cereal mixture into an even layer.
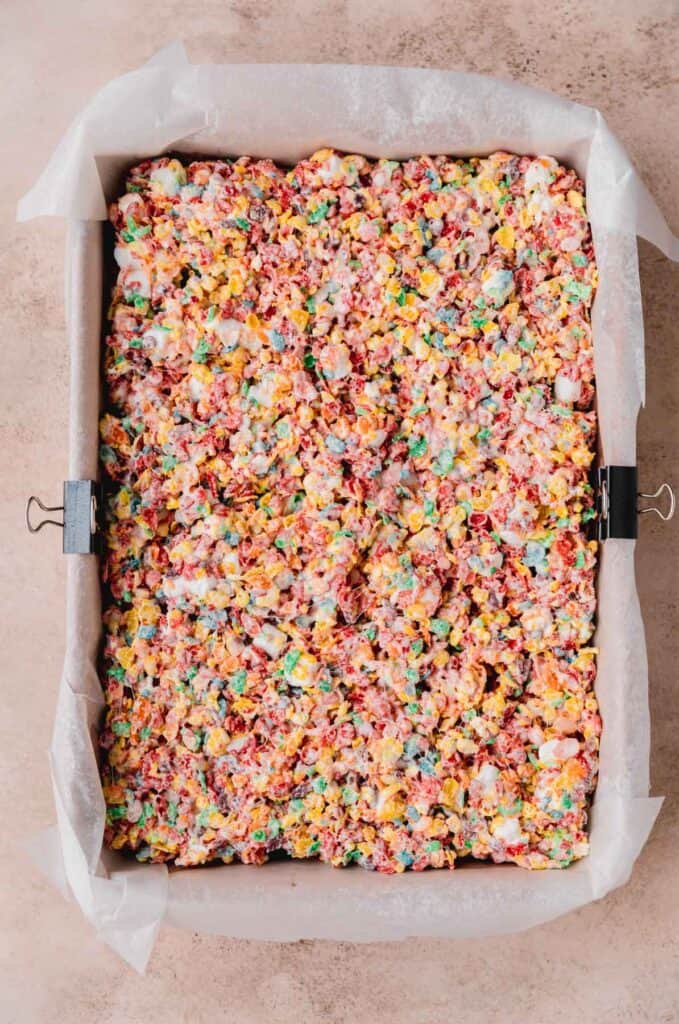
Let the Fruity Pebbles Treats cool to room temperature for about 1 hour. Meanwhile, melt the almond bark in the microwave in 30 second increments, stirring between each time.
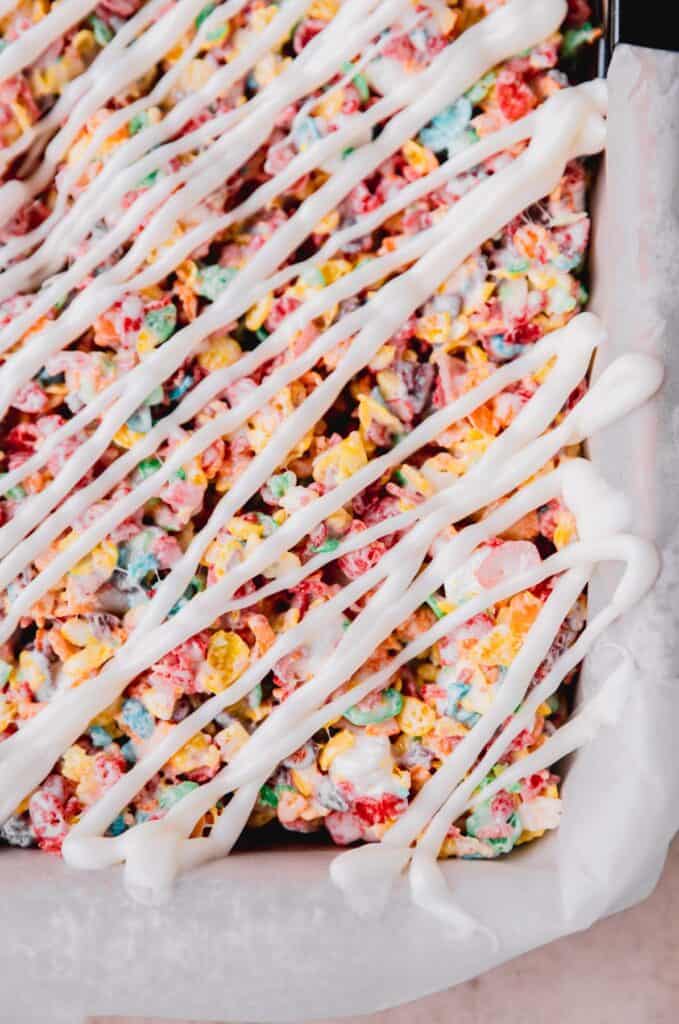
When the almond bark is smooth then add it to a Ziplock bag and snip a small part of one of the corners.
Drizzle the white almond bark over the top of the treats while they're in the pan. Allow the drizzle to cool with the Fruity Pebbles Treats for about 1 hour.
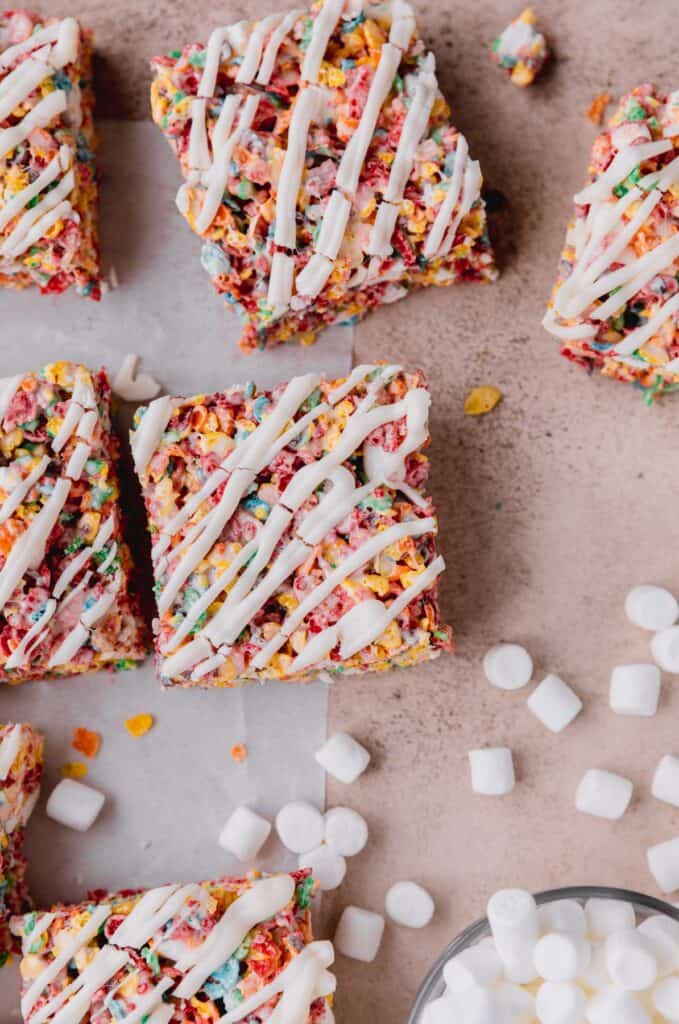
Remove the treats from the pan and cut to desired size. You now have a fun twist on a classic recipe!
Please leave a rating and/or review!
If you make this Fruity Pebbles Treats recipe I would love for you to leave a star rating and/or review on this blog post! Leaving reviews and ratings is super helpful for bloggers because it helps our recipes be able to be seen on Google.
Don't forget to sign up for my newsletter if you want all of the latest and greatest recipes sent straight to your inbox!
If you make this recipe and post photos on social media I would love for you to tag me in them! Follow along on Instagram, TikTok and Pinterest.
If you love fruity desserts then you'll love these: Creamy Lemon Pie Recipe, Honey Lemon Chiffon Pie, Strawberry Cream Cheese Pie
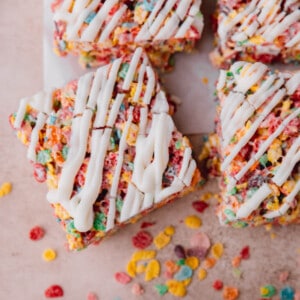
Fruity Pebbles Treats
Equipment
- 1 6qt pot
- 1 wooden spoon
- 1 13x9 inch pan
Ingredients
Fruity Pebbles Treats
- 8 tablespoon unsalted butter
- 20 oz mini marshmallows (jet puffed) plus 2 cups, divided
- 1½ teaspoon vanilla extract
- 1 teaspoon kosher salt
- 10 cups fruity pebbles
Topping
- 8 oz white almond bark
Instructions
Making the Fruity Pebbles Treats
- Spray a 13x9 inch pan with non-stick cooking spray then line with parchment paper. Lightly spray the parchment paper with non-stick cooking spray
- Melt the butter in a 6qt. pot over medium heat then turn the heat to low
- Add 20oz mini marshmallows and stir occasionally until melted
- Remove the pot from the stove and stir in the vanilla and salt
- Fold in the fruity pebbles then add the reserved 2 cups of marshmallows and gently fold them in
- Pour the fruity pebbles mixture into prepared pan then GENTLY press down into an even layer with a wooded spoon. Spray the back side of the wooden spoon with non-stick cooking spray before pressing down so that it doesn't stick
Making the Topping
- Microwave the almond bark in a microwave safe bowl in 30 second increments, stirring between each time
- Once the almond bark is melted and smooth, add it to a Ziplock bag, snip a small bit of the corner off and drizzle the bark over the top of the fruity pebbles bars
- Allow to cool at room temperature for 1 hour before cutting


Christine
These treats never last long in my house!
Spillt User
These were so fun to make with my little one! And so good! The touch of salt is perfect in these to balance out the sweetness.
admin
Thank you so much! So glad you liked them! I love adding a bit of salt to my sweets!
Star
These were so festive! Pepper and I made them for Easter and everyone chowed on them. I'm thinking they will also make a fun (and super easy) birthday treat too! The addition of kosher salt added the perfect sweet, salty, fruity flavor and now I'm drooling and need to make them again. Thanks for a great recipe!
admin
That makes me so happy to hear!! So glad you all loved them!